Mina the Hollower is packed with secrets, hidden items, optional rooms, and systems that are easy to miss early on. These 11 tips focus on practical choices that make the opening hours smoother without spoiling major story reveals.
For a full first-run systems overview, keep the beginner's guide nearby. If you mainly want gear routing, pair this page with the early trinkets guide and the all trinkets database.
1. Visit the Hollowers Guild to Find Your Next Objective
After reaching Ossex and speaking with Lionel, your main task is to repair six generators. The first four can be approached in any order, but the game does not hand you a detailed dungeon-style map right away.
Instead of wandering Tenebrous Isle blindly, head to the Hollowers Guild. After completing the guild rescue task and its mini dungeon, you can buy a map from Drill Heart. Mina can view this map from her burrow.
The map will not show every screen or room, but it does point you toward the general direction of the first four generators. Drill Heart also sells an upgrade that tracks how many collectibles remain in each area, which is extremely useful if you plan to explore thoroughly.
For route cleanup later, use the region map database as your external reference. It already includes useful pages for areas players often search for, including Bone Beach, Astral Orrery, Radiant Manor, and Septemburg.
2. Start With the Northeast Generator
Although the first four generators are flexible, the northeast route is a strong first choice. Its difficulty is manageable compared with other early options, and it contains one of the best early trinkets: Proto Spark.
Proto Spark grants Mina a free revive when equipped in her hollow, making dangerous fights and unfamiliar rooms much more forgiving. To get it, help the Duke reach his casket in the northeast crypt. Use the Queensbury Crypt map if you are cleaning up missed side rooms before the Duchess of Queensbury fight.
A strong recommended generator order is:
- Northeast
- Southwest
- Northwest
- Southeast
You can still choose your own route, but getting Proto Spark early gives every later area a safety net.
3. Grab the Primed Vial Pouch Early
Another excellent early trinket is the Primed Vial Pouch, which lets Mina carry two extra vials. Extra healing or utility charges can make a major difference before you have many permanent upgrades.
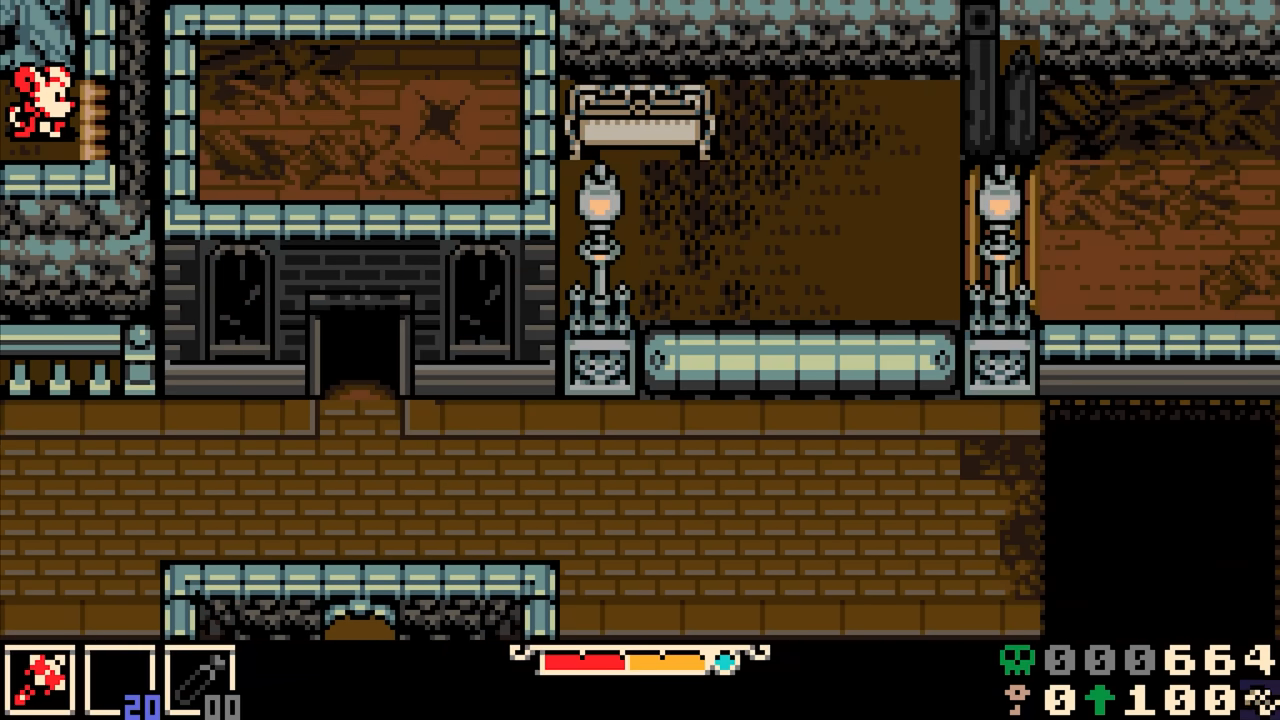
To find it, enter the house south of Ossex through the chimney.
Once you discover more vial pouches around the world, you may replace this trinket with something stronger. In the early game, though, it is one of the easiest ways to survive longer encounters. The full early trinkets route covers this basement reward, Bell of Grace, Plasma Funnel, and other first-hour picks in more detail.
4. Spend Bones on Attack and Defense First
Bones are both currency and upgrade fuel, so spending them wisely matters. When you have enough, Mina can “bone up” across four upgrade categories:
- Attack: increases primary weapon damage.
- Defense: increases Mina’s defense, not her health bar.
- Side Arms: increases side arm power.
- Bone Stones: converts bones into gems that cannot be lost on death.
For most players, the safest early path is to invest a few points into Attack and Defense before focusing on the other categories. Your primary weapon is used constantly, while side arms are limited by mana. Bone Stones are useful when you are carrying a lot of bones and fear losing them, but they should not replace basic combat upgrades early. The mechanics overview is a good refresher if you want the difference between Bones, Sparks, Plasma Vials, and Sidearm resources in one place.
If the upgrade screen nudges you toward leveling everything evenly, you can back out by choosing Exit.
5. Prioritize Permanent Upgrades Over New Weapons
Ossex has several places to spend bones, including:
- A blacksmith for weapons and weapon upgrades.
- A provisioner for permanent upgrades like health and vial pouches.
- Drill Heart for den and map-related upgrades.
- A clothing shop with outfits that provide different perks.
The best early bone investment is usually the provisioner. Permanent health and vial upgrades benefit every area and every build.
Avoid buying a new weapon immediately unless you truly dislike your starting weapon. However, once you find a weapon that fits your playstyle, upgrade it sooner rather than later. If you are comparing builds, use the weapons database and then match your choice with survival or damage picks from the trinkets database.
6. Rescue Every Trapped Child You Find
Some dungeon areas contain trapped children. Explore thoroughly, defeat the enemies guarding them, and rescue every child you can before moving on.
This is easy to overlook while focusing on the main route, but missing rescues can lock you out of rewards or outcomes you may regret. Treat trapped children as high-priority side objectives whenever you encounter them.
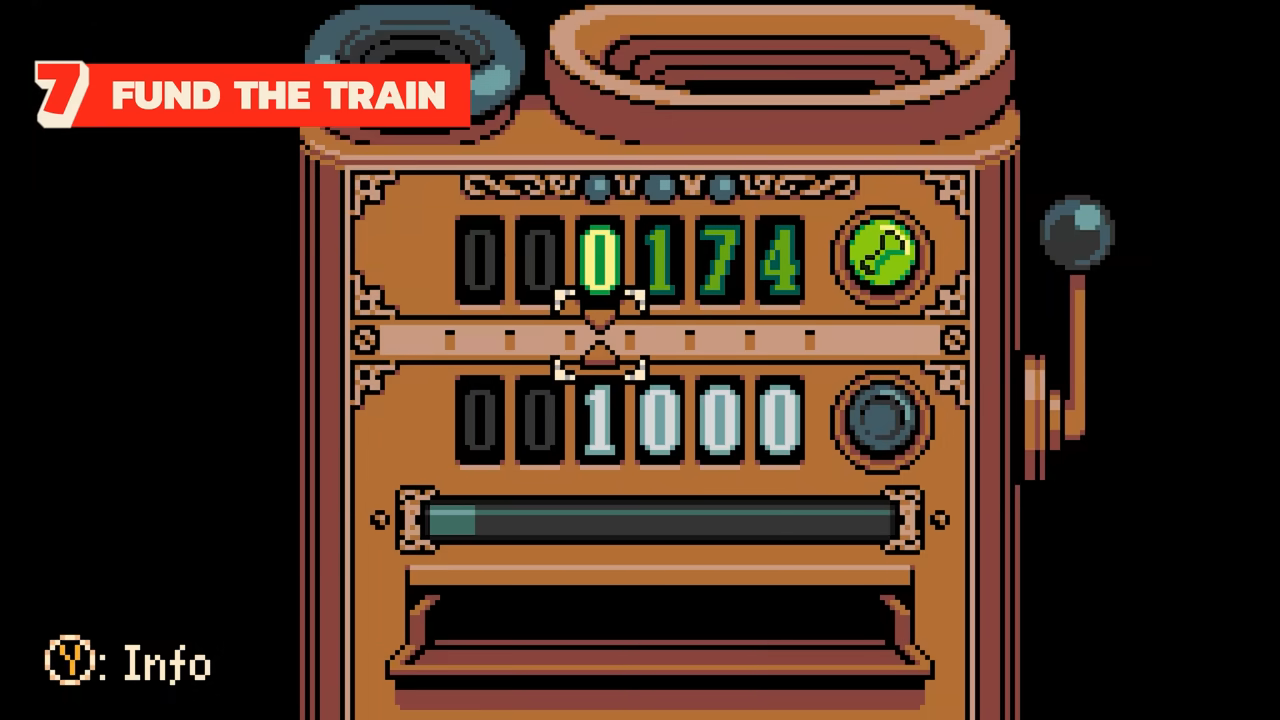
7. Fund the Train System
Major regions have train stations, but the train system needs funding before it becomes useful. At any station, interact with the donation box and contribute bones.
After donating roughly 10,000 bones, you unlock free travel between all five stations. This is not just a convenience feature; an area required for story progression is only accessible by train.
One extra warning: after choosing your ticket, do not linger too long. The train can leave without Mina.
8. Unlock a Second Side Arm Slot
Mina the Hollower has many side arms, and you are not limited to carrying only one forever. Once your Side Arms level reaches 5, speak with the relevant NPC in Ossex to receive a license that lets Mina carry an additional side arm.
This allows you to switch between two side arms freely, which is great for mixing ranged attacks, utility, or situational tools. Just remember that both side arms share the same mana pool, so swapping does not double your resources.
The sidearms database is useful once you start planning a utility slot. In particular, the Fishing Rod matters for players chasing Mina the Hollower fishing, fish shadows, and region-specific catches later on.
9. Deal With the Bone Thief
While exploring the city, a thief may rush Mina and try to steal bones. Hit him before he gets close and he will run away.
After you stop him several times, he retreats into the building beneath the train station. If you give him 1,000 bones, he rewards you with the Bell of Grace trinket.
Bell of Grace gives Mina a chance to keep her spark on death. If Mina dies without a spark, it lets her keep half her bones. That makes it a valuable defensive trinket for players who are still learning enemy patterns.
10. Read the Tenebrous Times Often
The Tenebrous Times is the in-game newspaper. It recaps your accomplishments, nudges you toward your next objective, and contains secrets of its own.
You can find newsstands in front of train stations. New editions appear after repairing generators, and the paper can react to your choices, including whether you followed its suggested dungeon order.
Check it regularly if you want direction without using an external walkthrough. If the paper nudges you toward the Bowery or Music Hall and you do not mind optional-boss spoilers, the Wonder Willis page covers that secret boss reference.
11. Track Every Mirror You Find
Mirrors are important, but their full purpose is best discovered naturally. When you find one, note its location and interact with it to see what happens.
Later, you will need to find at least three mirrors to progress, so keeping track of them early saves backtracking. If you are playing spoiler-light, simply write down the region or nearby landmark whenever you discover one.
For mirror locations and late-route cleanup, start with your in-game notes, then compare against the relevant map pages. The most common backtracking searches tend to involve areas like Bone Beach, Radiant Manor, and Astral Orrery.
Quick Priority Checklist
If you want a simple early-game plan for mina the hollower, follow this order:
- Reach the Hollowers Guild and unlock the map.
- Buy Drill Heart’s useful map and collectible upgrades.
- Head northeast first for Proto Spark.
- Pick up the Primed Vial Pouch south of Ossex.
- Spend early bones on Attack, Defense, and provisioner upgrades.
- Rescue trapped children whenever you find them.
- Start donating toward the train system.
- Level Side Arms to 5 if you want a second side arm slot.
- Stop the bone thief and consider buying Bell of Grace.
- Read every new Tenebrous Times edition.
- Mark mirror locations as you explore.
These tips keep Mina stronger, reduce wasted travel, and help you notice the systems that matter most during the opening stretch of Mina the Hollower.
Further More
- Beginner's Guide — full first-run route from the in-game manual
- First Session Guide — opening setup, weapon picks, and Ossex
- 8 Things to Do First — early checklist before the first dungeon
- Switch 1 & 2 Review — platform performance and playability
- My Tips (Shovel Knight devs) — sidearm tricks and hidden secrets
- Foundry & Bayou Guide — lava puzzles, ladder, fishing rod
- All Trinkets · All Weapons · All Maps