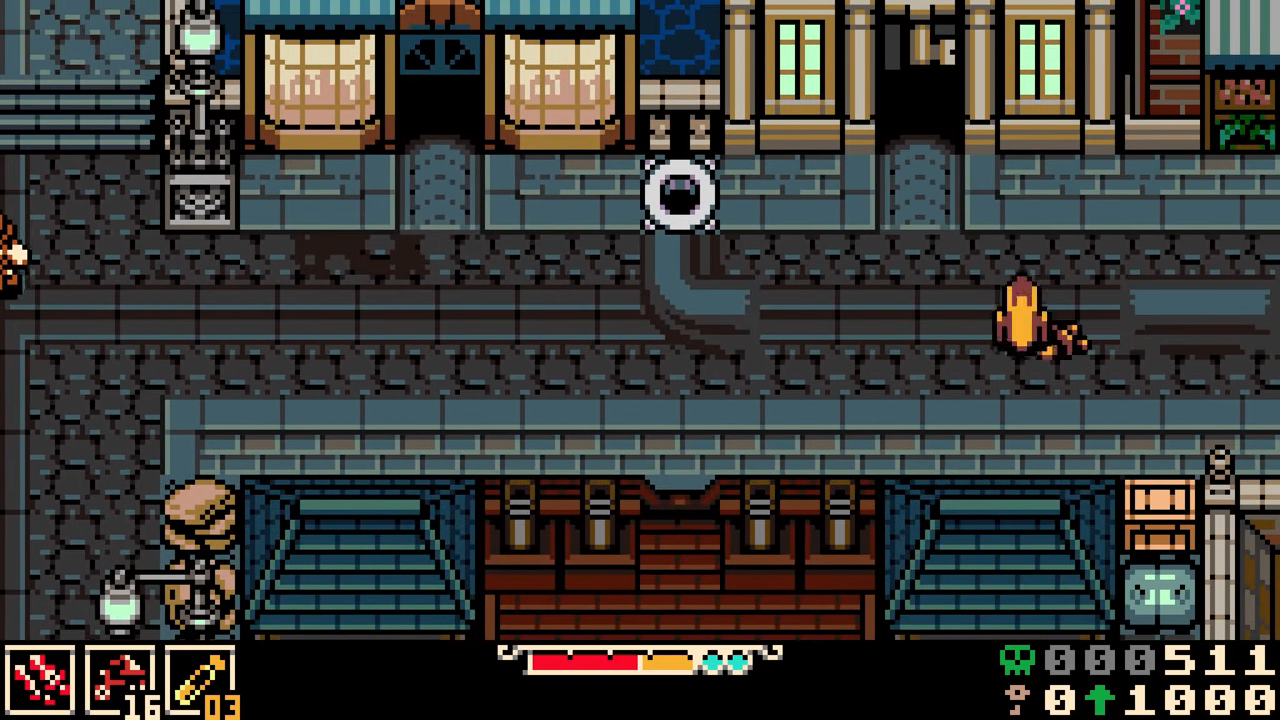
Mina the Hollower opens up quickly once you reach Ossex. You can wander almost anywhere, but doing a few specific things first makes the early game much smoother: more safe currency, better recovery, useful shortcuts, and trinkets that reduce the sting of death.
1. Collect easy bone stones before spending heavily
Bone stones are one of the safest early rewards in mina the hollower because they persist through death. They are commonly found in blue treasure chests, often behind small burrow puzzles or side rooms.
Before rushing into major purchases, grab several early bone stones:
- Tutorial route to Ossex: look for side chests before leaving the opening area.
- Fence-and-gate room: after jumping the gap, burrow under the upper gate to reach the chest on the right.
- Top-left hidden room: burrow under the gap in the upper-left corner to reach another chest.
- First checkpoint side room: climb the rope, break the left door, and clear the enemies guarding the chest.
- After the next rope: go right instead of left for another quick bone stone.
- Couple’s quarters in Ossex: use a burrow jump over the right-side gap to reach the chest.
If you need extra bones, farm the area east of Ossex on the way to the first dungeon. Enemies repeatedly jump out of crypts there. Clear them, return to the checkpoint one screen left, then repeat.
2. Buy the spark upgrade before the health upgrade
The Emporium’s health upgrade is tempting, but the spark upgrade is the better early investment for most players.
With two sparks, you can open the spark door left of the pawn shop. Inside, break the painting in the corner, then burrow under the wall to reach a bike. Getting the bike early is important because it:
- lets you clear bike challenges for more bone stones,
- crosses gaps wider than Mina can normally jump,
- opens routes to additional early rewards,
- gives you more freedom before the first dungeon.
The extra spark also helps with death recovery. Since sparks give you another chance to reclaim dropped bones, buying this upgrade early reduces frustration while the game is still at its hardest.
3. Stock up on kirs for optional rewards and shortcuts
Kirs are Mina the Hollower’s version of keys. They often unlock optional areas with bone stones, shortcuts, and useful upgrades.
The easiest early source is the kir shop next to the Emporium. Prices rise with each purchase, so buying two or three is usually enough to start.
Also grab these early kirs:
- Telescope north of the Ossex checkpoint: climb the stairs, use the telescope, and look for the plant in the top-right corner. A kir drops nearby.
- Secret passage west of Ossex: burrow into the center of the puddle near the pig enemies. Bring the bike, since the cave requires it to cross a gap.
- Hollowers Guild: once you get inside, you can pick up another kir.
4. Open the Hollowers Guild and buy the map
The Hollowers Guild is visible early in Ossex, but its entrance is blocked. To enter, go around the right side of the building, hop over the rock, break the crates, and work your way back to the entrance.
Inside, talk to Muriel to begin restoring the guild. Then head south from Ossex’s main entrance and use a kir to open the Rebel Barracks. Fight through the area, rescue Rein, and escort her out. Returning to the guild starts the cleanup and reveals another NPC.
Once available, buy the map for 500 bones. Between the map and newspapers that hint toward the next recommended dungeon, you will have a much easier time navigating Ossex and the surrounding regions.

5. Grab the best early trinkets before the first dungeon
A few early trinkets make exploration, healing, and survival noticeably easier.
Steady Soles
Effect: removes movement penalties on water, grass, stairs, and ice, while also resisting knockback.
To find Steady Soles, go up the stairs left of the checkpoint near Ossex’s eastern exit. On the next screen, head left to a balcony overlooking the courtyard. Burrow under the rightmost opening to enter the residence attic. Move left across the blocks, grab the bone stone chest on the way, then exit through the upper-left stairs to claim the trinket.
This is especially useful for watery or swampy areas.
Chain Capacitor
Effect: increases damage with consecutive hits until you miss.
Exit Ossex to the east, go one screen north, and use a kir on the grass-surrounded building. Inside is a 30-second car-smashing challenge. The bike makes this much easier because crashing through the car damages multiple parts at once. If the timer is too tight, return after gaining levels.
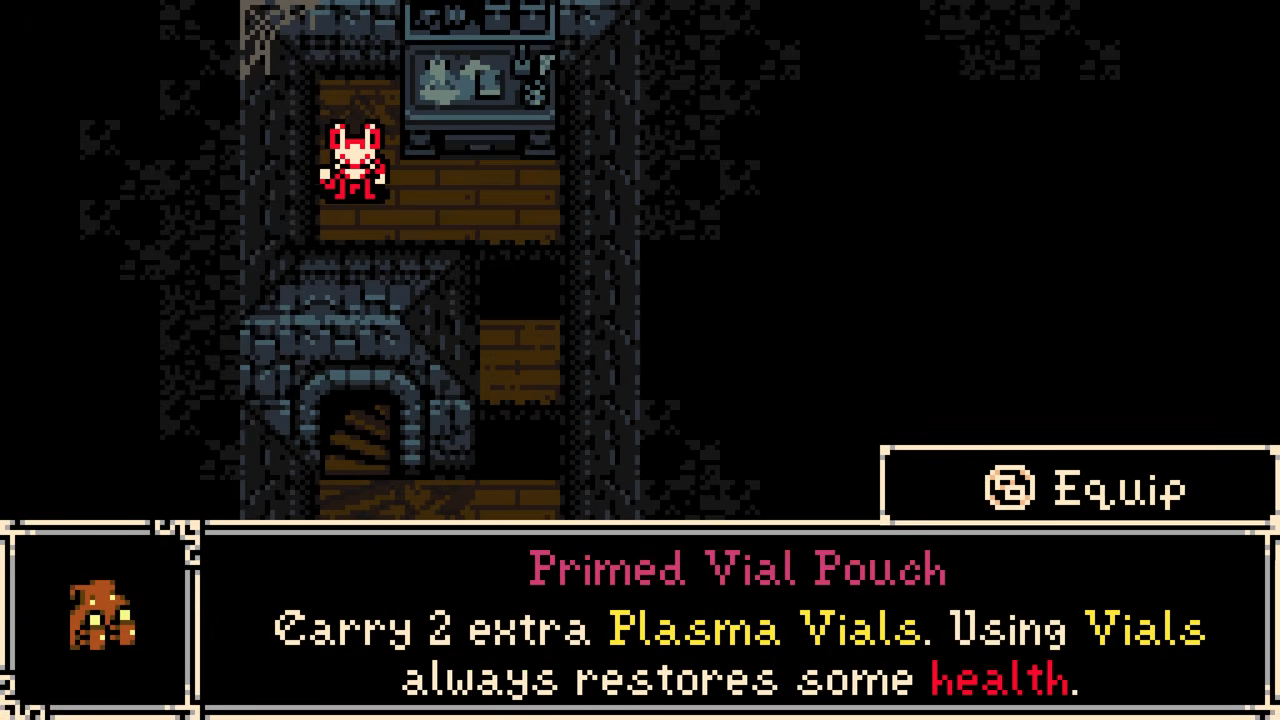
Prime Vial Pouch
Effect: adds two extra vials and allows a small heal even without collecting plasma from enemies.
Head west from Ossex’s main gate, pass the two beam-shooting guards, then go down-right and burrow into the marked roof spot. Work through the basement and reach the lower-left stairs to collect it.
Bell of Grace
Effect: gives a chance to keep your spark on death and can reduce bone loss when dying without a spark.
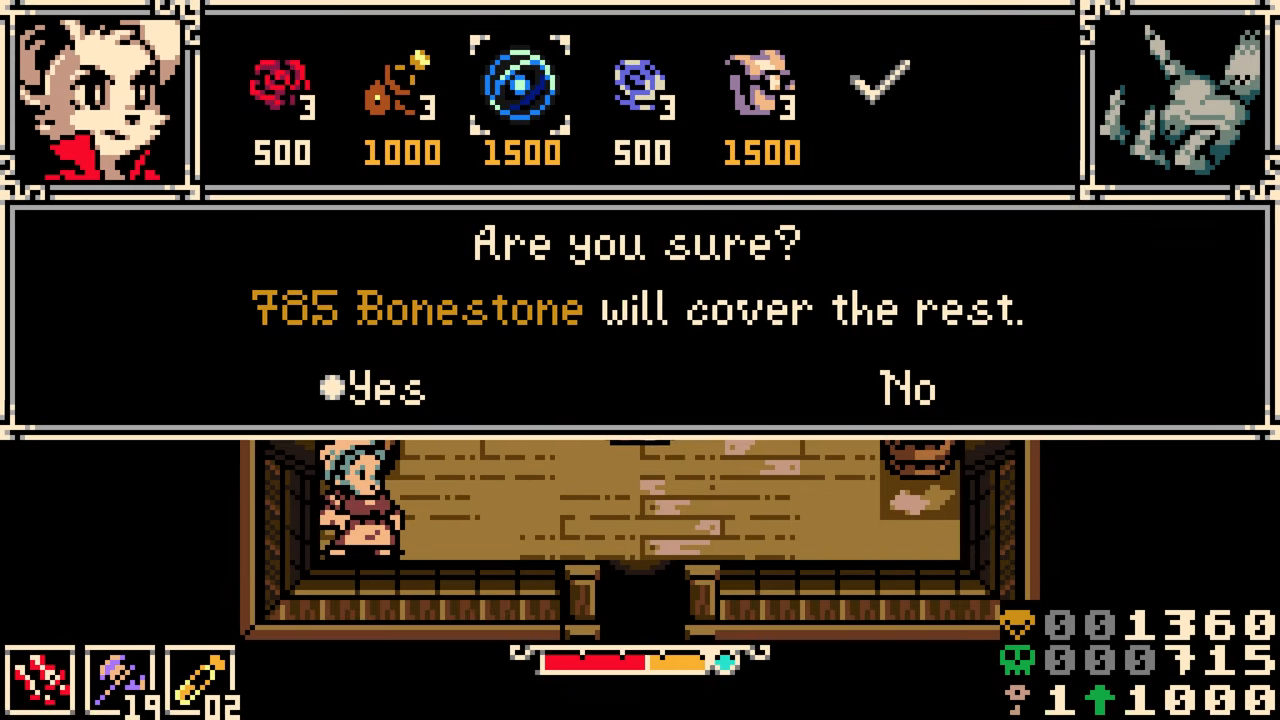
Enter the Station Underside on the west side of Ossex and speak with Fred. Afterward, he appears outside as a red NPC and tries to mug you. Strike him, block his path, and keep attacking until he yields. Return to the Station Underside, speak to his remains, and pay 1,000 bones to receive the trinket.
6. Unlock the trinket shop for stronger options
The trinket shop is a tougher early detour, but it is worth unlocking once you feel confident.
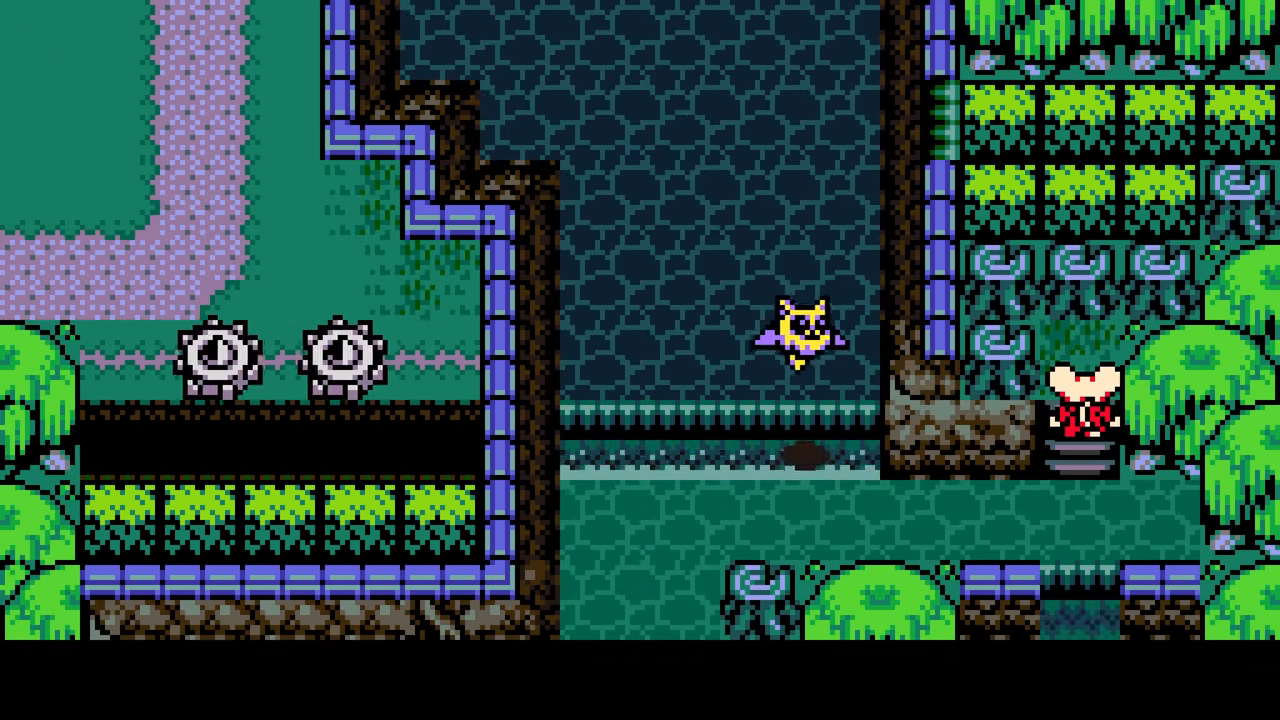
From Ossex’s entrance, head west into the Western Wilds. Enemies here hit hard, so avoid fights if needed. Continue north until you reach lava rivers. To clear red explosive crates, burrow a line from the lava to the crate so it acts like a fuse.
Use this trick to blow up the rocks blocking the far-left staircase, climb the mountain, move right, enter the Molten Foundry, and exit on the right. Clear the bridge rubble to open a shortcut, then continue toward the upper level of the Battery. Drop the rope shortcut, follow the path downward, and you will reach the trinket shop.
If you can afford it, Plasma Funnel is one of the best buys. It doubles your slow default vial-drinking speed and prevents losing the vial if your heal is interrupted.
7. Find Poppet’s hidden shops
Poppet sells useful inventory upgrades, and finding his stalls is worth doing early.
For the first stall, exit Ossex east, work south, then turn right after jumping the gaps. Continue past the turret screen until you reach a gate with an opening in the bottom-right corner. Burrow under it to enter a hidden cave. Bone stone dust is on the left; Poppet is on the right.
After buying out his inventory, he hints that more stalls remain. A second stall can be found south of Ossex after navigating the cave network and reaching the right side of the commons. Use the bounce flower by burrowing under it, place it near the left platform, bounce up, then burrow under and to the right.
The third stall is deeper into the Molten Foundry path, so save that one for later if the area feels too dangerous.
8. Start with the eastern crypt and do not miss ProtoSpark
Dungeons can be tackled in different orders, but the easiest first destination is the crypt east of Ossex. On the way, keep checking for secrets and collectibles, but the key reward to watch for is the ProtoSpark trinket.
Near the end of the crypt, look for the room just before the Ancestral Chamber, marked by a red carpet leading out of the north doorway. Instead of going north, head left. Spend two vials to remove the barrier, climb the ropes, and drop down on the left side.
There you will find an NPC who needs an escort through the remaining dungeon route. Complete the escort successfully and you will receive ProtoSpark.
ProtoSpark effect: it works like an extra life, reviving Mina with a small amount of health when she dies. It only triggers once per death or checkpoint rest, but it is one of the strongest early safety tools in mina the hollower.
Quick early-game priority list
If you want the shortest possible order, do this:
- Grab easy bone stones before and inside Ossex.
- Buy the spark upgrade.
- Use the second spark to unlock the bike.
- Buy two or three kirs.
- Open the Hollowers Guild and buy the map.
- Collect Steady Soles, Chain Capacitor, Prime Vial Pouch, and Bell of Grace.
- Unlock the trinket shop and buy Plasma Funnel if affordable.
- Head east to the crypt and secure ProtoSpark.
Following this route gives you money, mobility, survivability, and direction before Mina the Hollower starts pushing harder.