
This guide covers the useful mina the hollower takeaways from the Foundry and Bayou exploration session: an optional Molten Foundry detour, several permanent upgrade pickups, major utility items, and the early Bayou/Swamp route. It avoids major story explanations and focuses on practical navigation, equipment, and combat lessons.
For earlier sessions, see the First Session Guide and the After First Dungeon Guide. For broader upgrade and gear context, keep the trinkets database and weapons database open while reading.
Key takeaways from Part 3
- The Foundry zone is optional, but worth clearing for upgrades and shortcuts.
- Lava/fire rooms punish careless movement; Flame Guard helps reduce mistakes.
- The Upgrade Jewel Box is a major permanent sidearm-resource upgrade.
- The Western Gate shortcut makes returning to the Foundry area much easier.
- The ladder is a powerful exploration tool and can also be thrown at enemies.
- The fishing rod is more than a minigame item; it has surprising movement and utility uses.
- The Bayou/Swamp expects you to know that Mina can burrow in deep water.
- Some optional enemies and bosses are tuned far above your current power level; leave them for later if damage feels too low.
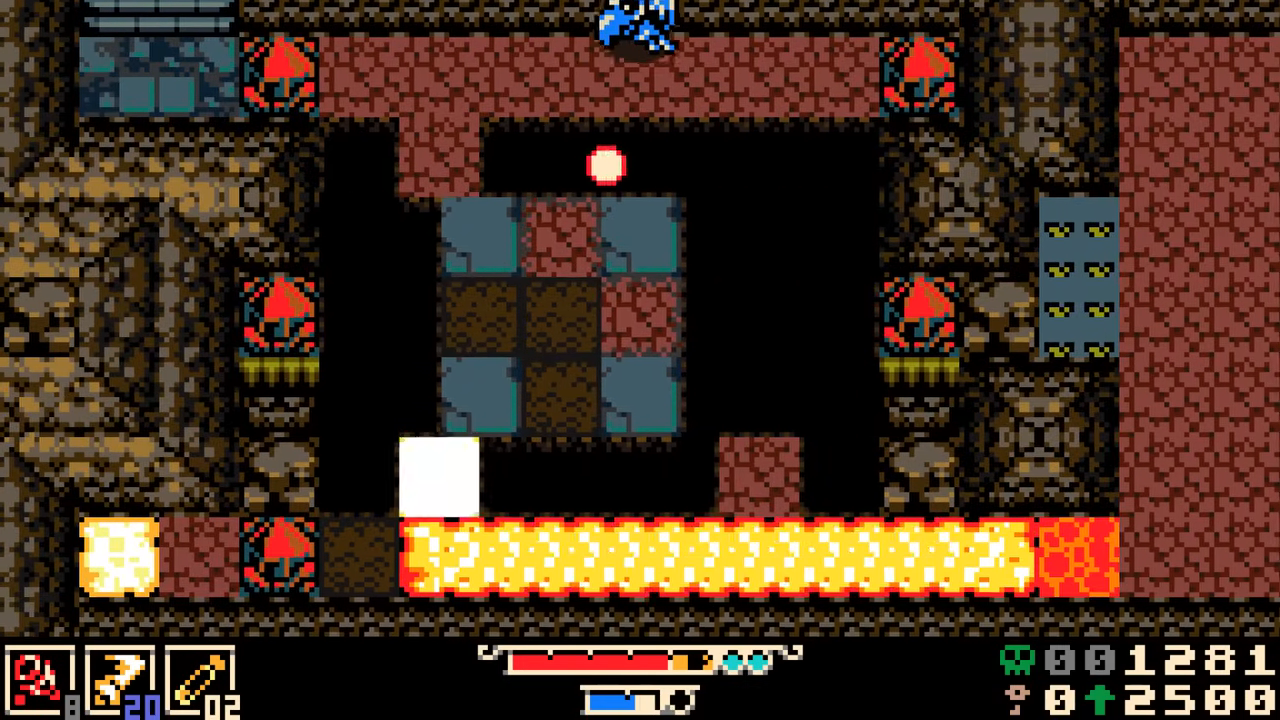
Optional Foundry: why you should still clear it
The Foundry is described as a fully optional zone, but it is not filler. It teaches heat, lava, timing puzzles, and item-combination movement in a way that pays off later.
Foundry survival tips
- Treat lava edges as wider than they look. It is easy to clip into damage.
- Do not rush puzzle cycles. Several rooms require waiting for lava or platforms to line up.
- If a room looks impossible, check for:
- a sidearm solution,
- a trinket interaction,
- a hidden dark spot,
- a skull or pickup tucked behind the obvious path.
- Enter difficult rooms with full health when possible; repeated chip damage adds up fast.
Flame Guard is worth grabbing
One major Foundry pickup is Flame Guard, which blocks one hit from fire or explosions, breaks, then recharges after a few seconds. It is especially useful in rooms where a single mistake would otherwise chain into more damage.
Use Flame Guard when:
- learning lava puzzle timing,
- fighting enemies near fire hazards,
- crossing explosive rooms,
- revisiting Foundry secrets later.
It will not make you invincible, but it gives you enough forgiveness to experiment.
Foundry treasure: Upgrade Jewel Box
A key reward from the Foundry detour is the Upgrade Jewel Box, a permanent upgrade that increases maximum jewels for more sidearm uses.
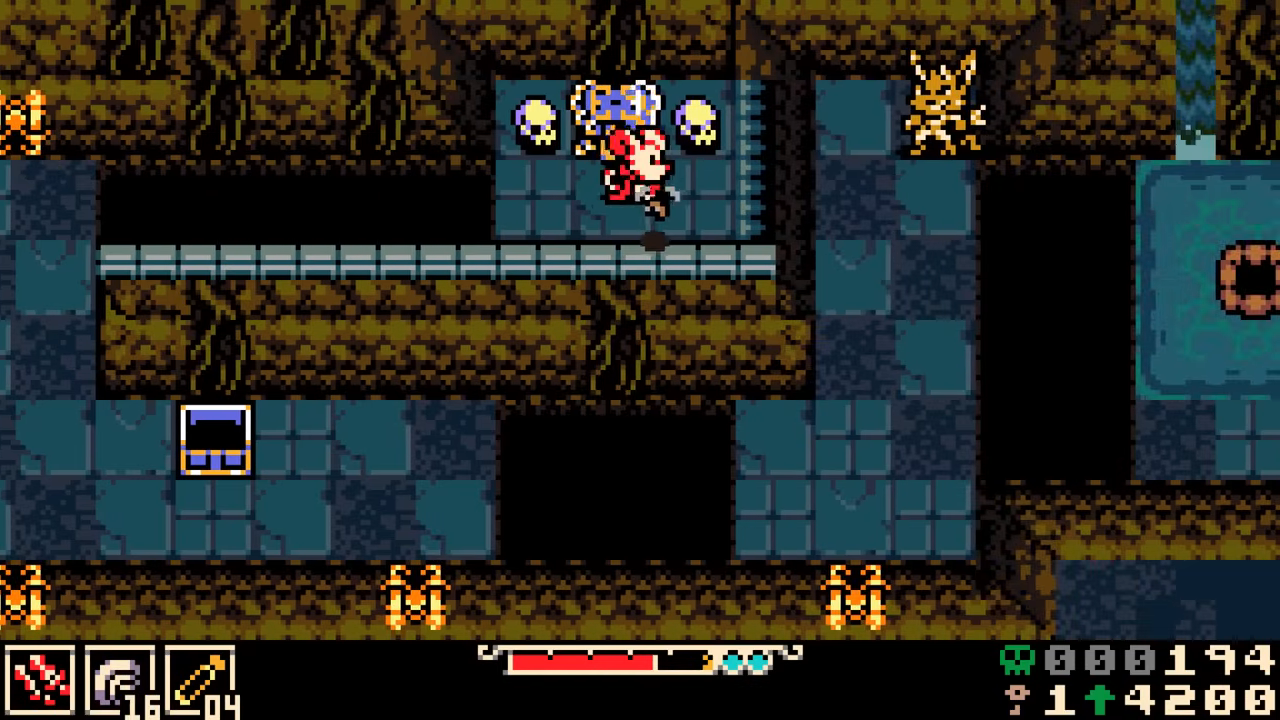
This is one of the best upgrades in Part 3 because sidearms become central to traversal, secrets, and boss attempts. More jewels means more room to use tools like the fishing rod, fog thrower, or other sidearms without running dry immediately.
How Vinny reaches the Jewel Box chest
The chest requires experimenting with movement tools and gap-crossing. The important lesson is that Mina's traversal is often combinational: one item alone may not cross a gap, but a sidearm plus a trinket or shield setup might.
If a chest looks barely out of reach:
- Test your longest sidearm movement option.
- Try a shield or movement tool if available.
- Check if a bike, drill shield, or throw arc can extend the attempt.
- Do not spend a key unless you are sure the lock is actually required.
Unlock the Western Gate shortcut
After pushing through the Foundry, Vinny unlocks 06 Western Gate. This is a meaningful shortcut because it reduces backtracking and makes it easier to return for missed chests, skulls, and puzzle rooms.
When exploring optional zones in mina the hollower, prioritize shortcuts before chasing every collectible. A shortcut usually turns a frustrating return trip into a quick cleanup route.
Shops, trinkets, and money decisions
Part 3 includes several useful shop discoveries and trinket decisions.
Buy out Popit-style stalls when possible
A vendor hints that buying all wares across multiple Poppit stalls leads to more. The advice given is clear: if you can afford it, buying out these stalls is recommended.
Lady Susan's trinket shop
Notable trinkets and effects discussed include:
- Plasma Funnel: attacks at full plasma/health can fire a shock ball that grows over distance.
- Seismic Belt: walk faster and gain a burst of speed after hitting a foe.
- Bubble Ring / Shield Ring-style effect: rapid hits can form a protective shield that absorbs one hit.
For dagger-focused play, the shield-on-fast-hits effect sounds especially strong because daggers naturally attack quickly.
Extra trinket slot
A chat tip points out that buying another trinket slot would be very good. That is usually true: in mina the hollower, trinket slots are power flexibility. More slots mean you can carry movement, defense, and resource tools together instead of constantly swapping.
The race challenge near the fountain
A ghostly racer challenges Mina to sprint to the central fountain area with restrictions: no doorways, stairs, trains, geysers, warps, or trickery. The route is learnable after a failed attempt, and the reward is 100 bones.
Tips:
- Learn the route first; do not expect a clean first try.
- Avoid stairs entirely.
- Keep turns tight.
- Commit to the shortest legal path once you know it.
The reward is not game-changing, but it is quick money once the path is understood.
Deep water: burrow to avoid getting stuck
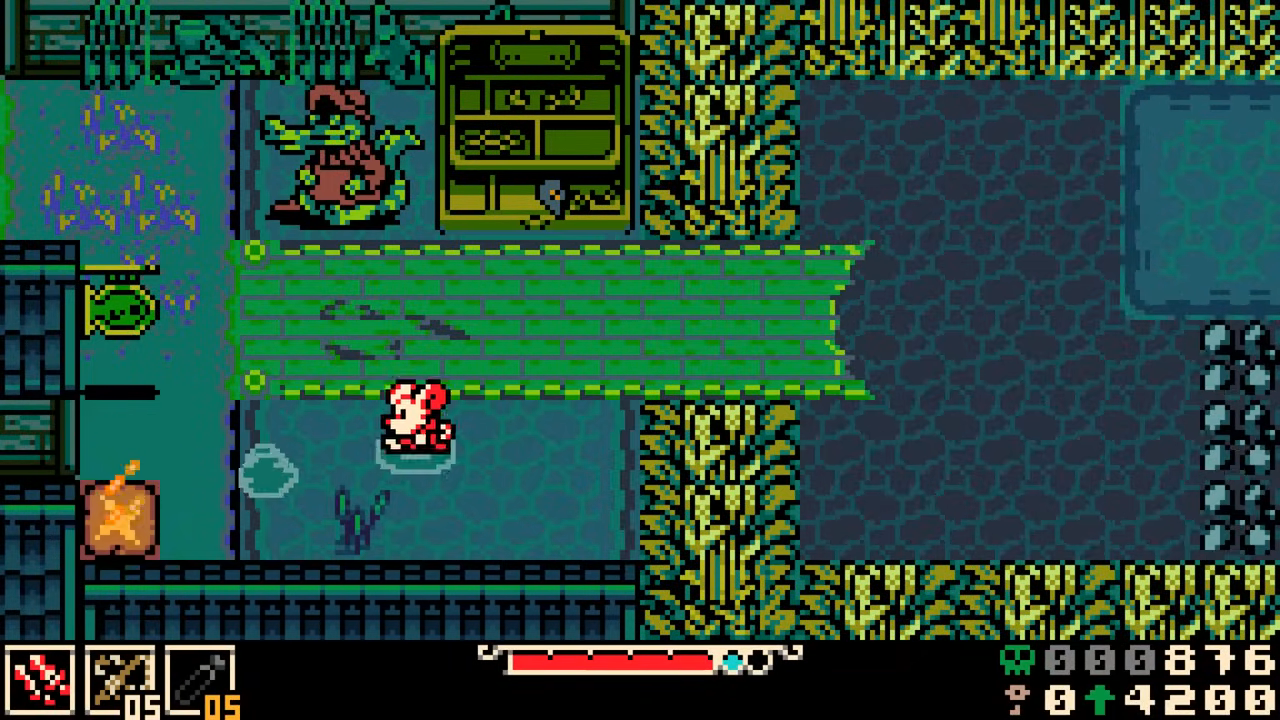
The Bayou/Swamp area expects players to understand a key rule: Mina can burrow in deep water. Use the Nox's Bayou map to track water-heavy rooms and plan your route.
If you feel trapped in water, try burrowing before assuming you are stuck. This mechanic may be explained outside the main flow, so it is easy to miss if you are not experimenting.
This is one of the most important practical lessons from Part 3.
The jug quest takes a trinket slot
A frog gives Mina a jug that must be filled by defeating 50 enemies. The catch: the jug must be equipped, and it takes a trinket slot.
Plan around that limitation:
- Equip the jug only when you are actively farming kills.
- Remove it before hard rooms or bosses if you need combat trinkets.
- Do not forget to re-equip it after swapping gear.
Pipsqueak shop: buy the spark container upgrade
A small shopkeeper sells a strong upgrade: one extra spark container. It is called out as a very good deal.
If you have the bones, prioritize it. Extra spark capacity improves survival and gives more margin during long exploration stretches.
Borrowing the ladder
The ladder becomes one of the funniest and most useful tools in Part 3. It can be moved, placed, and used to reach skulls, gems, ledges, and hidden paths.
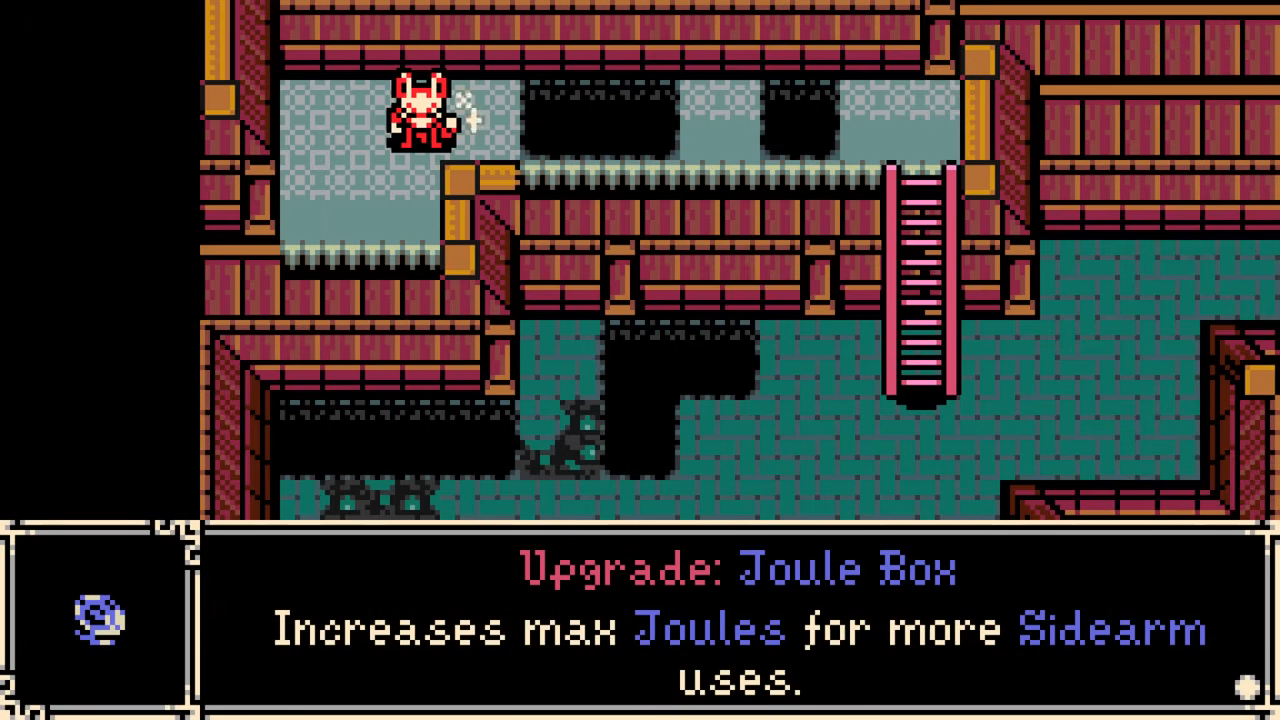
How to think about ladder puzzles
When you find the ladder:
- Look for nearby ledges that are just out of reach.
- Try using it above previous rooms, not only beside the person who owns it.
- Bring it back through areas where it still fits.
- Check dark corners, skull pickups, and gem routes.
- Remember it can also hit enemies when thrown.
The ladder is described as having many uses, and Part 3 shows why. Mina the Hollower hides a lot of rewards behind simple-looking props.
Fishing rod: more than fishing
The fishing rod starts as a fishing tool, but quickly becomes a utility item with combat and traversal implications.
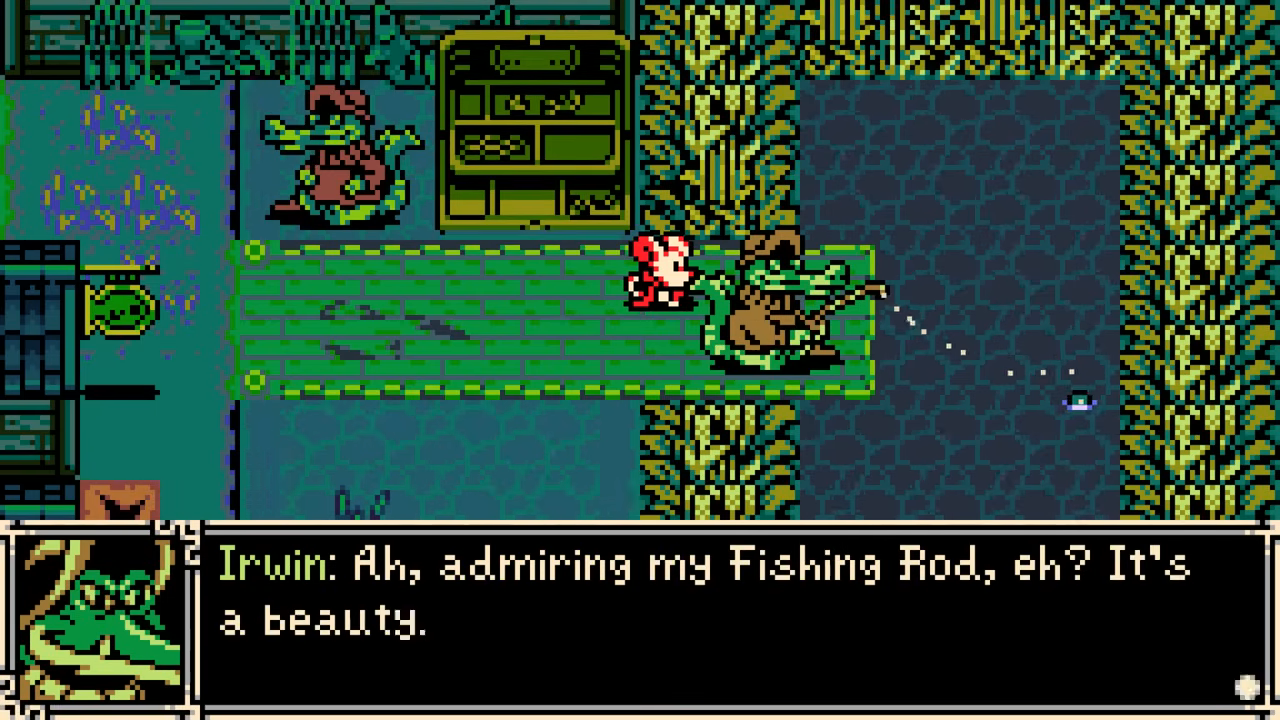
You can use it for:
- catching area fish and trophies,
- pulling or interacting with targets,
- extending movement options,
- reaching items where a ladder would otherwise be useful,
- speedrun-style tricks.
The rod is useful enough that losing access to it or swapping it away can feel painful. Later upgrades may help with sidearm retention, but do not assume it is a normal trinket effect.
Fishing collectibles
Part 3 confirms that there is at least one trophy-style fish collectible in each area. One catch rewards a Fleer Head trophy, which is tracked at the fishing hole.
If a fish or creature will not spawn again, leave and re-enter the screen.
Beware the optional high-level fish/boss
Vinny finds a dangerous optional encounter that feels like an endgame-level boss. The key lesson: if you are doing tiny damage and dying in a few hits, you are probably underprepared.
Before forcing the fight, consider returning later with:
- more weapon upgrades,
- more plasma vials,
- better defensive trinkets,
- stronger sidearm capacity,
- a better damage plan.
There is no shame in backing out. Mina the Hollower rewards curiosity, but not every discovery is meant to be cleared immediately.
Vile Pouch and plasma upgrades
Another important upgrade is the Vile Pouch, which increases max plasma vials and lets Mina heal more times. This is one of the most worthwhile survival upgrades in Part 3.
A separate plasma-focused reward grants bonus plasma from enemies and allows plasma to fill beyond the normal maximum. This can be very strong for aggressive exploration because it turns enemy kills into more resource momentum.
Boots and underwater movement
Vinny picks up boots that allow normal movement speed underwater. They are immediately useful in the Bayou, especially for exploration and safer repositioning.
Use them when:
- water movement feels too slow,
- enemies are pressuring you in flooded rooms,
- you need precise positioning near pits or hazards.
Swap them out later if you need a combat trinket more than water mobility.
Evasion Powder is a boss-friendly defensive option
Evasion Powder increases invulnerability time after damage and briefly after exiting burrow. This can be useful in boss fights or crowded rooms where one mistake often leads to another hit.
It is not always better than offensive trinkets, but it is worth remembering for difficult encounters.
Weapon notes: daggers, hammer, and charge attacks
Vinny spends much of Part 3 comparing weapons and getting used to swaps.
Daggers
Daggers feel reliable because they attack quickly, pair well with shield-on-hit effects, and “take care of business” against many regular enemies. The upgraded dagger movement can also help with traversal tricks.
Hammer
The hammer is slower, but it hits hard and can destroy tougher enemies effectively once you learn the timing. Its big charge attack looks powerful and satisfying, but it requires practice.
Weapon upgrade annoyance
Finding a weapon upgrade can automatically switch your weapon. If you suddenly feel off, check your equipped weapon and sidearm before assuming the controls are wrong.
Beckoning Collar: summon and detonate
The Beckoning Collar lets Mina summon a creature to battle, then detonate it with another press. It fits the game’s pattern of sidearms being both combat tools and puzzle pieces.
Because the fishing rod is so useful, swapping away from it can feel costly. Choose based on the room: rod for traversal, collar for combat utility.
Secrets are everywhere
Part 3 repeatedly reinforces that mina the hollower is secret-heavy. Vinny finds hidden chests, skulls, gems, shop backrooms, shortcut pipes, ladder routes, and suspicious side areas.
A good exploration checklist:
- Revisit rooms after getting new utility items.
- Check dark spots above and below the obvious path.
- Try burrowing in strange places.
- Throw tools at suspicious objects.
- Re-enter screens to reset spawns.
- Look for pipes and blocked shortcut paths.
- Do not assume a visible chest requires the obvious key route.
Suggested priorities after this session
If you are following a similar route, prioritize:
- Clear enough of the Foundry to get the Upgrade Jewel Box.
- Unlock the Western Gate shortcut.
- Buy strong shop upgrades, especially spark capacity and trinket slots.
- Learn deep-water burrowing before pushing Bayou rooms.
- Use the ladder to clean up nearby skulls, gems, and ledges.
- Get comfortable with the fishing rod as a utility sidearm.
- Avoid overcommitting to high-level optional bosses until your damage improves.
Part 3 shows why Mina the Hollower is easy to get lost in: nearly every item has extra uses, and nearly every area hides something worth checking. The best approach is to experiment, but save hard fights and obvious late-game challenges for when your upgrades catch up.
Further More
- First Session Guide — opening setup, starter weapons, and Ossex
- After First Dungeon Guide — early dungeons, generators, and Bone Beach
- Beginner's Guide — full 39-section manual condensed into a first-run route
- Mechanics Overview — burrow, stats, healing, leveling, and fast travel
- All Trinkets Database — Flame Guard, Plasma Funnel, Seismic Belt, Bubble Ring, Evasion Powder, and more
- All Sidearms Database — Fishing Rod, Beckoning Collar, and every sidearm tool
- Weapons Database — daggers, hammer, and all five starter weapons compared
- Nox's Bayou Map — water routes, fishing spots, and Bayou exploration
- Region maps: Bone Beach, Septemburg, Radiant Manor, Astral Orrery