What to Do After the First Dungeon in Mina the Hollower
After the opening hours, Mina the Hollower shifts from basic survival into route planning: finish the graveyard and Queensbury Crypt stretch, restore the first Spark Generator, unlock more Sparks, test sidearms, build around trinkets, and bring the guild hall back online.
This guide explains what to do after the first major dungeon, especially if you are deciding whether to chase upgrades, revisit map routes, push toward Bone Beach, or start checking optional secrets such as mirror locations and fishing spots. For a wider starting checklist, read the beginner's guide and the new player route guide first.
Light spoilers follow for areas, NPC encounters, rewards, and early-game mechanics.
Core Takeaways After the First Dungeon
This stage is where Mina the Hollower opens up from a straightforward dungeon crawl into a more systems-heavy adventure. The biggest lessons are:
- The game is intentionally tougher than a classic Zelda-like. Enemy contact, knockback, reviving foes, and tight rooms matter.
- Trinkets and sidearms define your build. Twin Daggers, flies, Plasma Vials, and later heavier weapons all change how fights feel.
- Spark upgrades are progression tools, not just safety nets. More Spark means more recovery chances and access to two-Spark doors.
- Escorts are usually helpful, not helpless. Several NPCs actively assist or unlock new systems rather than becoming burdens.
- The guild hall becomes a hub for meta progression. Restoring it unlocks new utility and map support, which matters once you start comparing routes on the region map database.
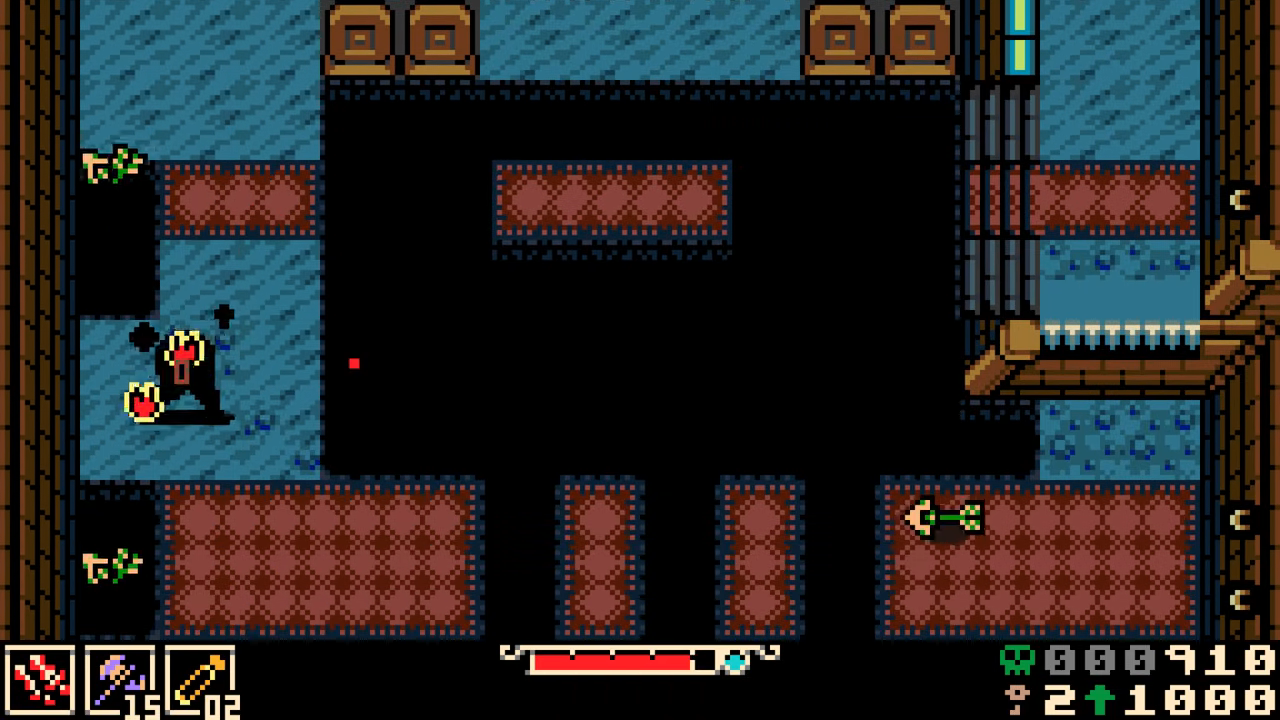
Graveyard and Dungeon Survival Tips
The early graveyard section is full of enemies that punish careless trades. Ghouls are especially dangerous because hitting them at the wrong angle can still lead to knockback or contact damage. If you feel lost, pair this section with the map guide so you know when to keep pushing and when to return with a better tool.
Use these habits:
1. Fight from diagonals or edges when possible. Avoid standing directly in a ghoul’s movement path.
2. Do not overcommit after one hit. Back up, reset spacing, then strike again.
3. Use thrown knives to soften enemies. The knife upgrade is excellent for picking off targets before entering a cramped room.
4. Prioritize revivers. Some enemies revive others; clear those first before cleaning up the room.
5. Heal before experimenting. Several rooms look simple until projectiles, revives, or knockback chain together.
Knife Build: Why It Works So Well
Daggers and knives are strong here because they deal quick damage with low commitment. If you already like fast close-range play, the weapons database is worth checking before spending too many Bones on a heavier option.
The knife setup is useful for:
- Bosses with small punish windows
- Flying or awkwardly placed enemies
- Rooms where direct melee contact is risky
- Triggering extra effects from trinkets
The main weakness is that knives may feel less reliable in rooms where enemies approach from multiple directions. If you miss or bounce a shot poorly, you may waste pressure and expose yourself.
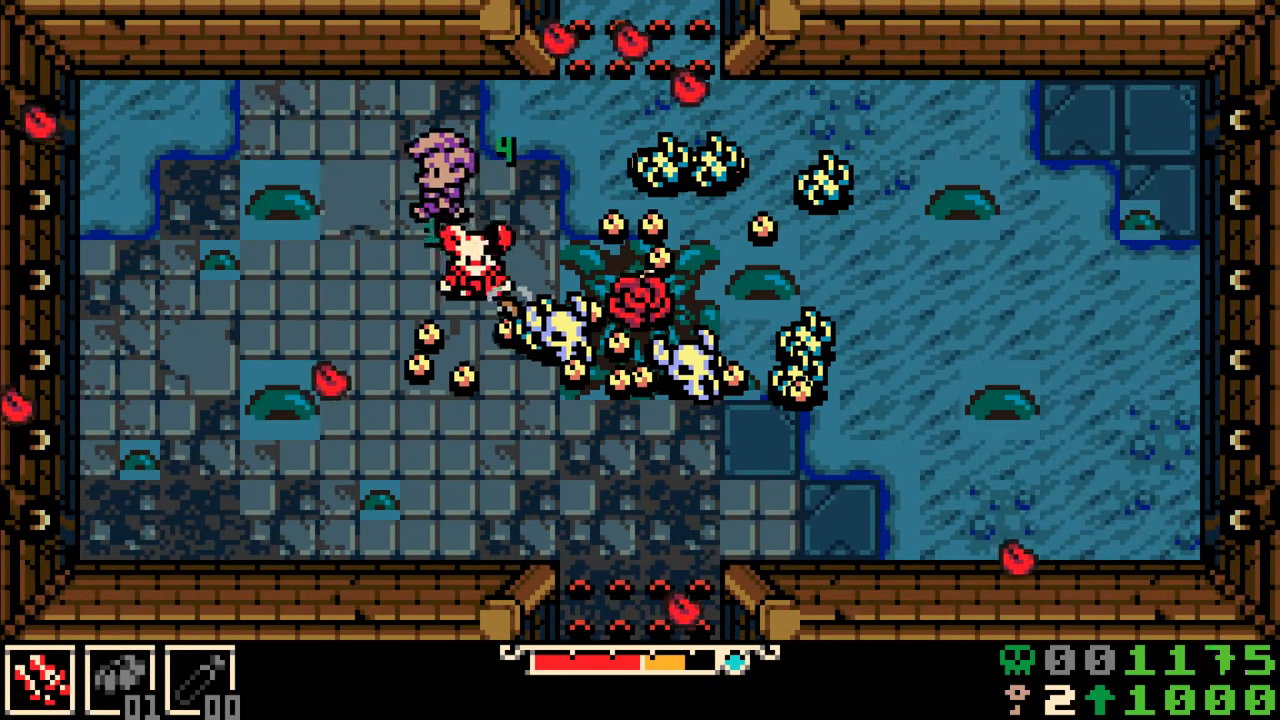
Friendly Flies Trinket
One of the standout rewards is Fly Bait, a trinket that causes defeated enemies to attract friendly flies, which then attack other foes.
This is stronger than it first appears because:
- Candles and small enemies can help start the effect.
- Flies add passive pressure while Mina dodges.
- It pairs well with fast weapons and sidearms.
- It can clean up large enemies while you focus on survival.
You must equip the trinket for it to work; it is not automatically active when collected.
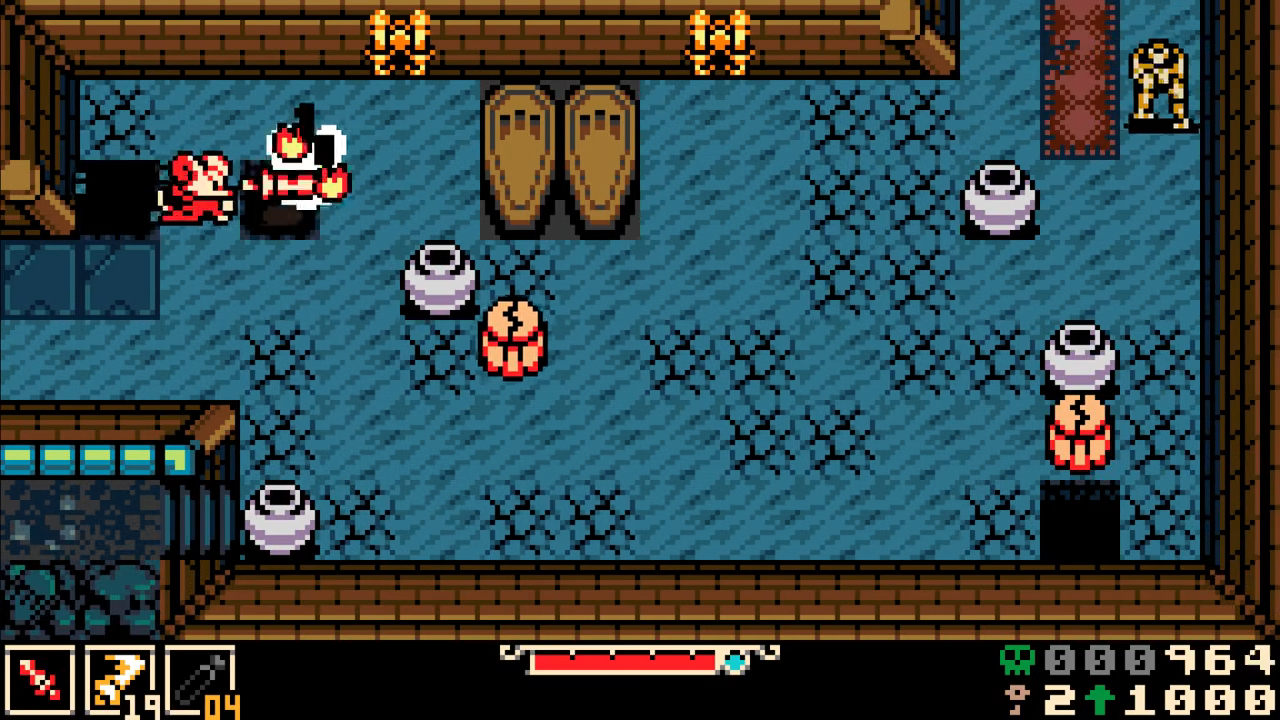
Graveyard Escort and Boss Reward
The graveyard includes an NPC escort-style sequence, but it avoids the usual frustration of traditional escort quests. The follower persists, does not feel overly fragile, and ties into a small character quest.
The associated boss has a readable pattern. If you want to compare it with other early fights, use the boss database after you clear this route.
- Watch for three tentacle strikes.
- Prepare for an arrow volley afterward.
- Save special attacks for safe openings.
- Heal before greedily finishing the fight.
The reward increases Mina’s max health, making it one of the most valuable early upgrades.
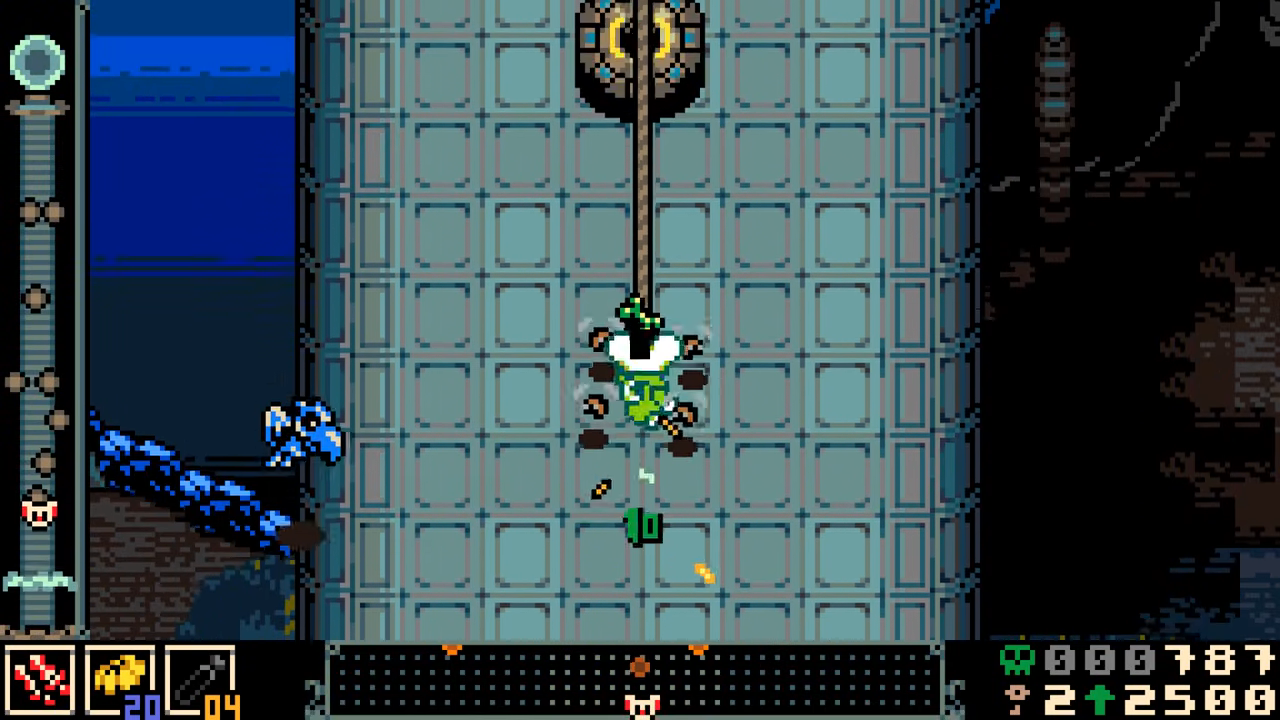
Spark Generator Fuse Run
After the graveyard, Mina reaches the first Spark Generator sequence. This is a burrowing challenge where Mina must reset fuses while staying ahead of danger.
The key is to treat it less like combat and more like a precision route:
- Commit to movement once you start.
- Avoid unnecessary detours.
- Use burrow movement cleanly rather than repeatedly correcting.
- If offered another run for more bones, remember that the prior hall/reward state may be lost.
Completing the first generator advances the main plot and reinforces an important story point: the generators may be dangerous, but simply destroying them could unleash something worse. This is also where Sparks stop feeling like a small safety mechanic and start shaping route access.
Spark Container: Why Two Sparks Matter
A major upgrade in this stretch is the Spark Container, which increases max Sparks.
This matters for two reasons:
1. More recovery chances after death. Sparks help recover bones after dying.
2. Two-Spark doors become accessible. Some doors require two Sparks, making this a real progression upgrade.
If you lose a Spark, it can end up held by an enemy. You may need to track down and defeat the carrier to recover it. In some cases, "boning up" may be required before you can get back into the right state for progression. Trinkets such as Proto Spark and Spark Catcher are worth understanding once you start building around Spark recovery.
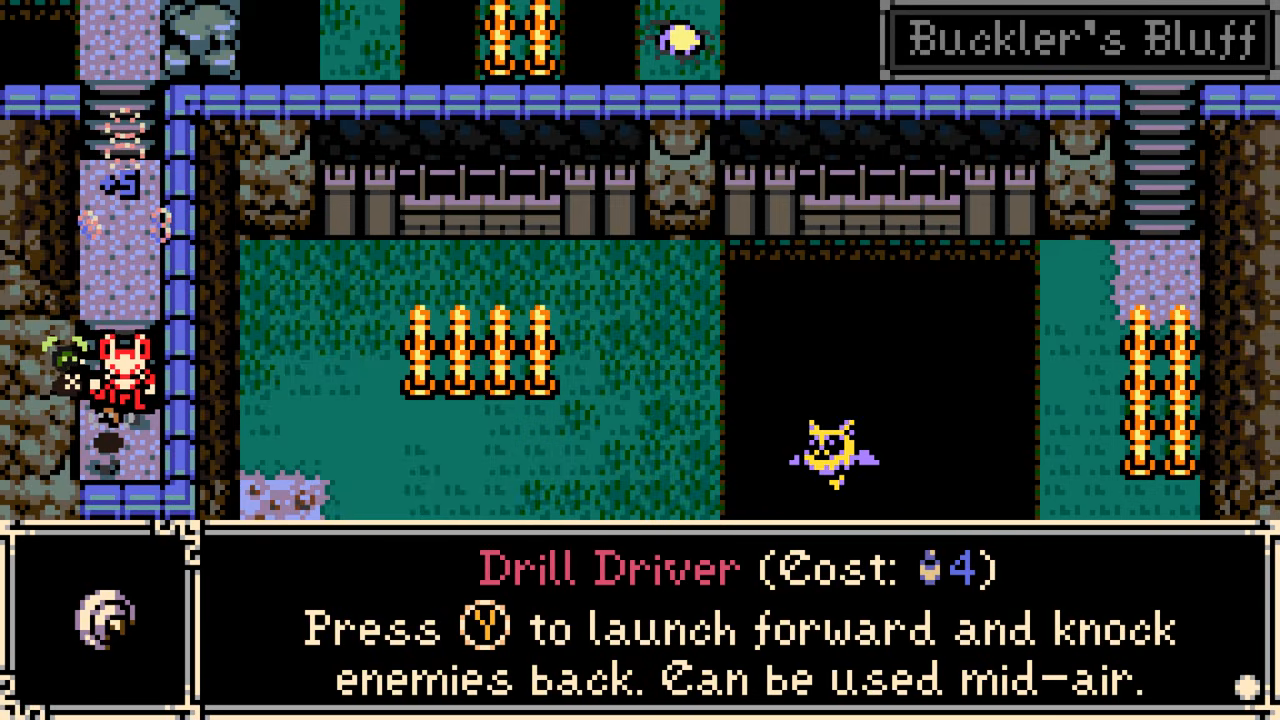
Drill Driver Secret
A notable hidden pickup is the Drill Driver, a sidearm that launches Mina forward and knocks enemies back. It can also be used in midair.
Use Drill Driver for:
- Crossing gaps
- Reaching otherwise awkward secrets
- Knocking enemies away when surrounded
- Extending movement during platforming sections
The secret is easy to miss because it requires thinking beyond the obvious route. If an area looks like it has a gap that "shouldn't" be jumpable, test burrow jumps and sidearm movement carefully. This is also a good time to compare it with other sidearms before committing upgrades.
Maxi Rival Fight
Maxi appears as an early rival boss and uses whip-based attacks. This fight can be surprisingly demanding because the hitboxes and spacing are tight.
Tips for beating Maxi:
- Stay just outside whip range and punish after attacks.
- Do not panic-jump into the whip arc.
- Daggers work well because they let you chip safely.
- Keep a vial ready; the fight can end with both sides low.
The reward is a max trinket upgrade, which is extremely useful because this stage introduces several good trinket options.
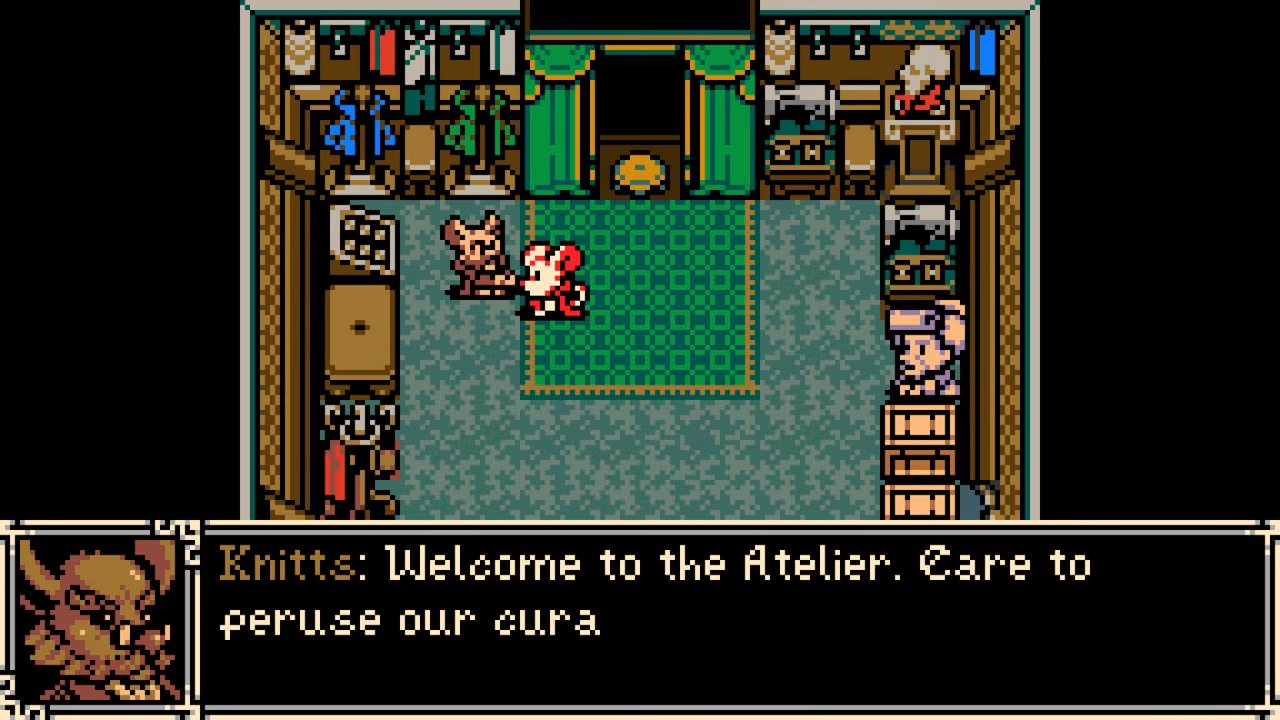
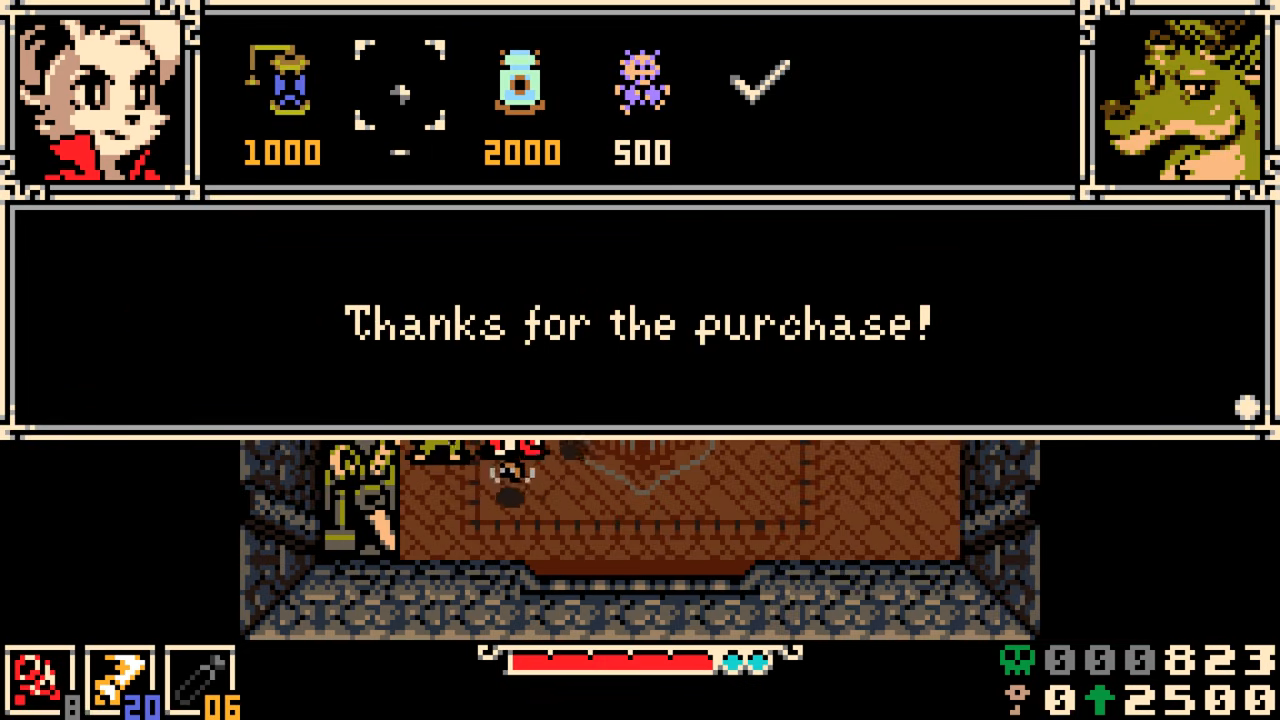
Weapon and Shop Decisions
This stretch introduces more shopping decisions, including cloak upgrades, trinket shop purchases, and new weapons.
Notable options include:
- Vitality Vest: Increases max health by 25%. Very strong if you are taking frequent damage.
- Battery Buster: A heavier weapon with mode switching and strong damage potential.
- Dagger upgrades: Excellent if you already like fast, close-range pressure.
- Sidearm level boosts: Increase sidearm power and can make projectile or utility tools more worthwhile.
A good early setup is one offensive trinket and one defensive/sustain trinket. For example, pairing a damage-focused effect with Vial support gives both pressure and survivability. For a broader list, use the all trinkets database or the early trinkets guide.
Useful Trinkets Found or Discussed
Several trinkets and upgrades stand out:
| Upgrade | Effect | Why It Matters |
|---|---|---|
| Fly Bait | Defeated enemies attract flies that attack foes | Great passive damage in busy rooms |
| Proto Spark | Saves Mina from death once, resets after dying | Strong safety option |
| Primed Vial Pouch | Carry two extra Plasma Vials; Vials restore some health | Excellent sustain |
| Chain Capacitor | Consecutive hits without missing boost damage | Great with daggers and bosses |
| Windfall Charm | Joules restore Plasma; sidearm hits can make foes drop Joules | Helps sidearm-heavy play |
Rain Rescue and the Better Escort Mission
Rain’s rescue is a good example of how Mina the Hollower handles companion sequences. Rather than needing constant protection, Rain actively helps by digging up useful items and contributing during the route out.
This encounter also pushes the plot forward: Rain explains that Thorne claimed a hollower touching the generators would cause disaster, which is why Rain was held prisoner. After the rescue, Rain heads to the guild hall and becomes part of its restoration.
Guild Hall Restoration and Map Support
By the end of this stretch, the guild hall is restored enough to function as a hub. This unlocks new systems, including customization and meta-progression options.
Important guild hall notes:
- The restored hall gives Mina a clearer home base.
- Underlab customization appears to be mostly cosmetic at first.
- Drillheart enables deeper underlab improvements.
- Meta upgrades such as sidearm recovery become available.
- The map gives a broad area overview and later helps track missing objectives.
The map is not a fully detailed room-by-room solution, but it is useful for understanding general direction and region layout. Once you start chasing optional goals such as mirror locations, fishing, or how to get to Bone Beach, the map becomes a practical planning tool rather than just a menu screen.
Route Priorities After This Stage
After this section, good next goals are:
1. Check two-Spark doors now that the Spark Container is available.
2. Revisit missed graveyard and town-adjacent secrets.
3. Test Drill Driver movement near suspicious gaps.
4. Upgrade your preferred weapon instead of spreading bones too thin.
5. Build around your strongest trinkets rather than equipping novelty effects.
6. Use the guild hall map to identify unexplored regions such as Nox's Bayou, Septemburg, Radiant Manor, and Astral Orrery.
7. Keep notes on mirror routes and fishing spots so late-game cleanup is easier.
Best Build Direction for This Stage
For most players at this point, the strongest practical build is:
- Primary weapon: Upgraded daggers for fast boss damage
- Sidearm: Drill Driver or a reliable ranged option, depending on the room
- Trinket 1: Fly Bait or Chain Capacitor for offense
- Trinket 2: Primed Vial Pouch or revival effect for safety
- Upgrade priority: Spark Container, max health, trinket slots, then weapon upgrades
Battery Buster is worth trying if you prefer heavier hits, but the dagger build is proven effective across several early bosses.
Final Notes
This stage shows why Mina the Hollower rewards curiosity. Many of the best upgrades come from revisiting suspicious paths, testing movement tools, helping NPCs, and understanding how Sparks interact with death and doors. If a room looks optional, it may contain a major upgrade rather than a small bonus.