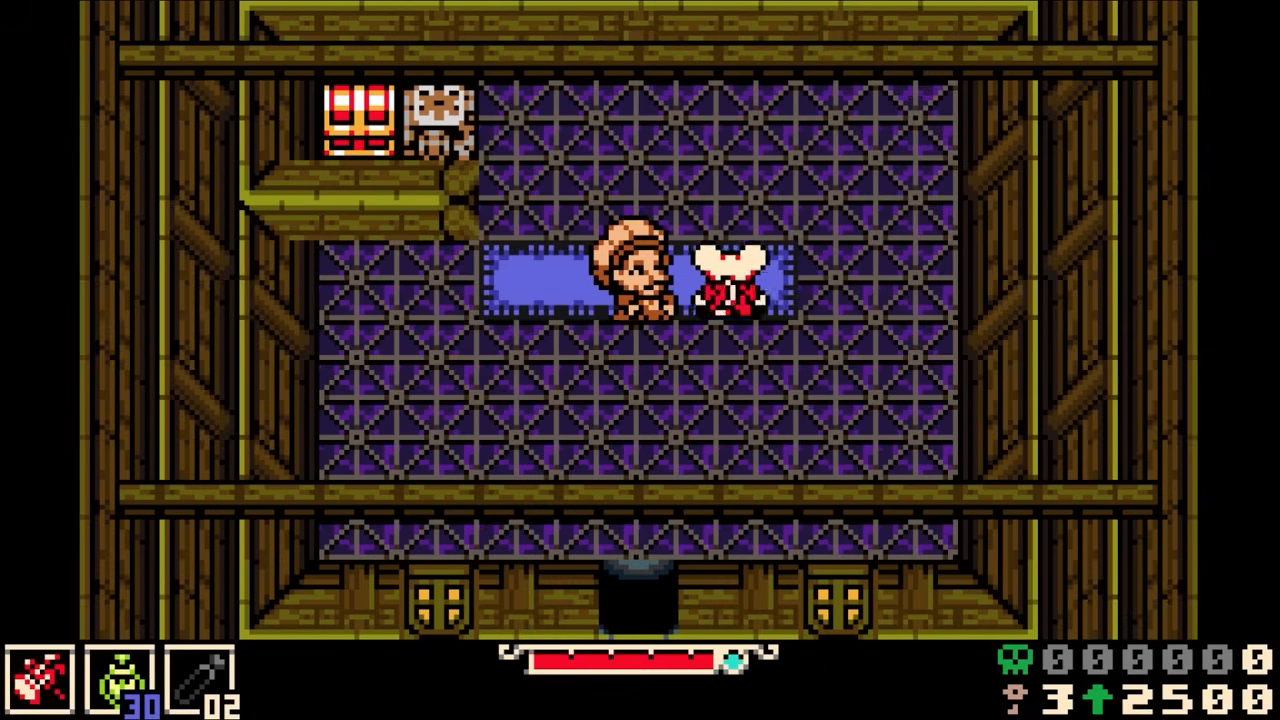
The right way to play Mina the Hollower is not to turtle up and wait for perfect openings. It is to build around aggressive hammer damage, convert that damage into plasma and healing, and use movement-focused trinkets to bypass danger instead of slowly fighting through it.
This approach is riskier at first, but it makes the game dramatically smoother once the core pieces are online.
If you are still learning the basics, start with the beginner's guide first. If you already understand movement and want to plan gear, keep the all trinkets database, sidearms database, and region maps open while you build toward this route.
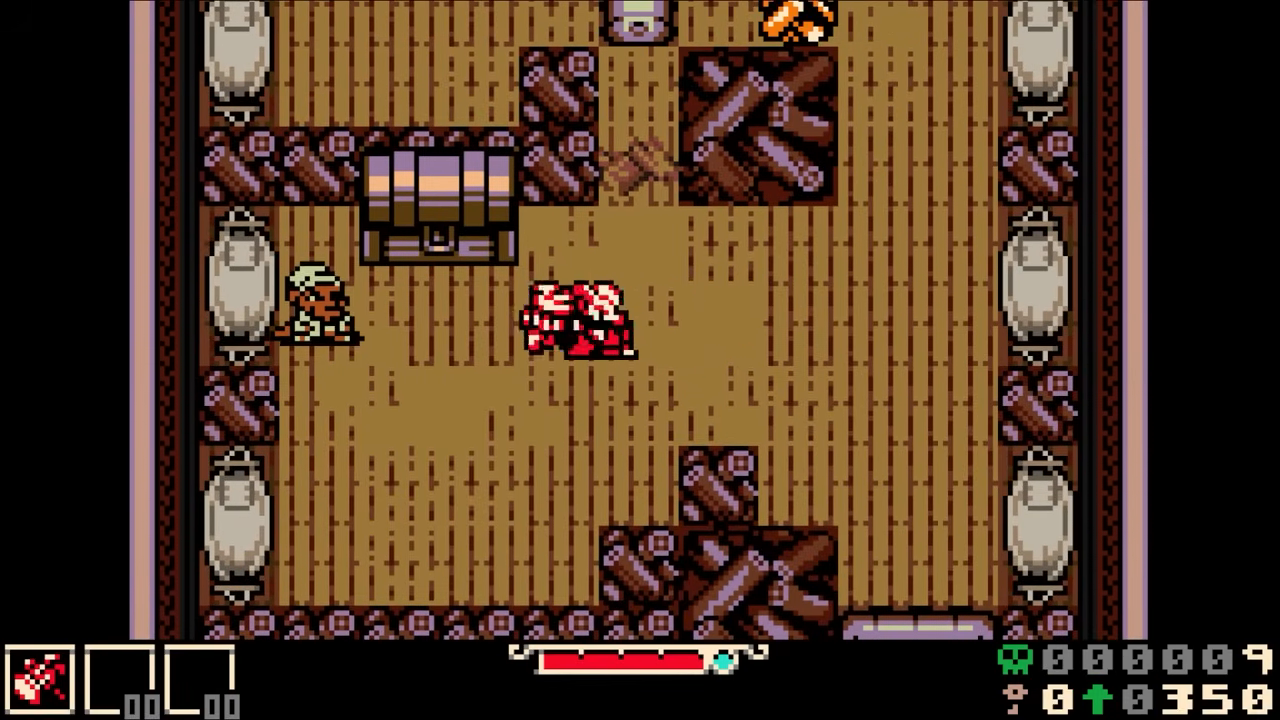
1. Commit to the Hammer Early
The hammer is hard to learn, but it is worth building your whole playstyle around. Its biggest strength is not just raw damage; it is the control you keep while charging and releasing attacks. If you want to compare the weapon role against other options, check the weapons database and the Blaststrike Maul page.
Key hammer habits:
- Hold attack while repositioning. You can roll around while keeping the attack ready.
- Start attacks with a short hop. This helps you line up hits safely.
- Use mini hops to adjust spacing. If you want to move without fully rolling or changing your facing too much, small hops keep you in control.
- Do not mash blindly. Hammer timing matters, especially in rooms with pits, traps, or enemies that punish greedy swings.
The hammer rewards patience inside an aggressive strategy: charge, move, pick the opening, then hit hard.
2. Use the Uranium Bracelet Instead of Fearing It
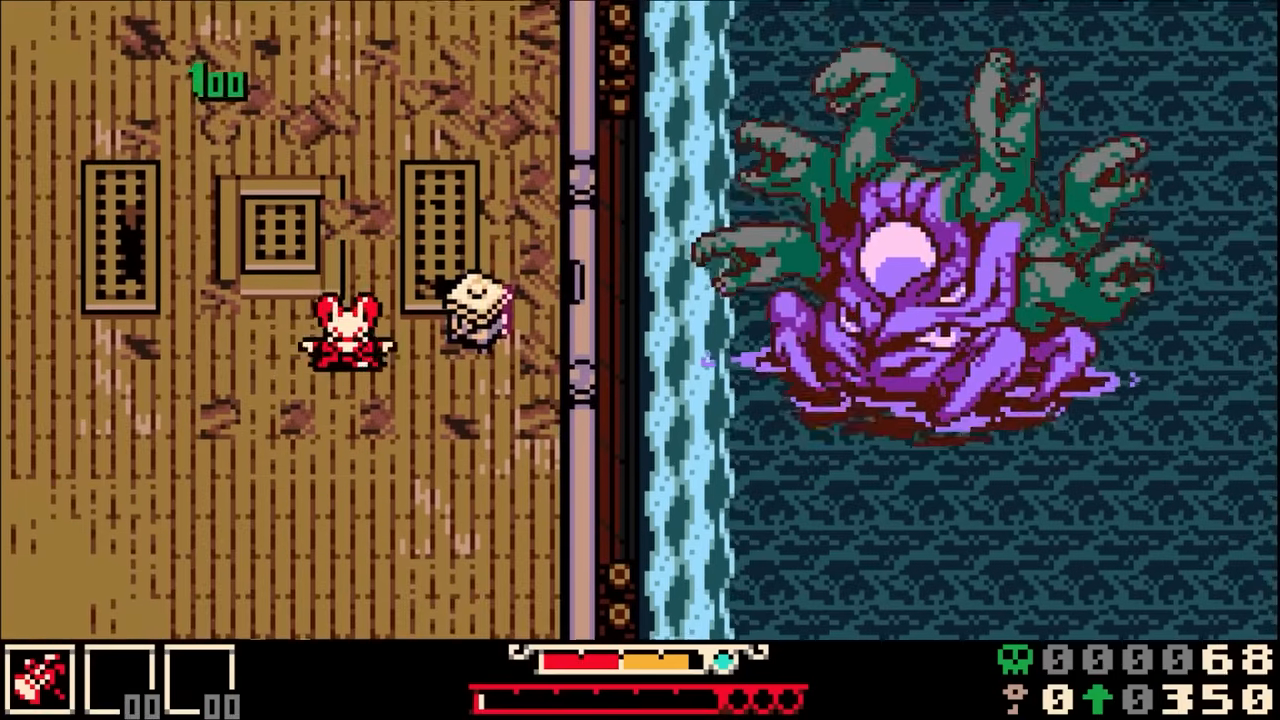
The Uranium Bracelet looks scary because it turns many encounters into two-hit or even one-hit danger. But it also makes the game's healing economy work in your favor.
If you still need the acquisition route, the Uranium Bracelet guide covers the Nether Kraken reward, later Lady Susan purchase, and when the risk is worth taking.
Why it is so strong:
- More damage means faster kills.
- More damage dealt means more plasma gained.
- More plasma means more healing opportunities.
- Stronger hammer hits can refill resources quickly enough to offset the risk.
This is the central idea: if you survive the hit, your damage output often lets you heal back up. That makes the bracelet much better than it first appears, even for a casual route.
Stat Priority for This Style
A balanced early spread works best:
- Attack — improves hammer damage and plasma return.
- Some defense early — prevents the build from becoming too fragile.
- Sidearms later — important once the healing build comes together.
Do not ignore defense entirely. The build is powerful, but falling into pits or getting comboed can still end a run. For the broader upgrade logic behind Attack, Defense, Sidearms, Sparks, and Plasma Vials, use the mechanics overview.
3. Get Mist Jar for Sustain
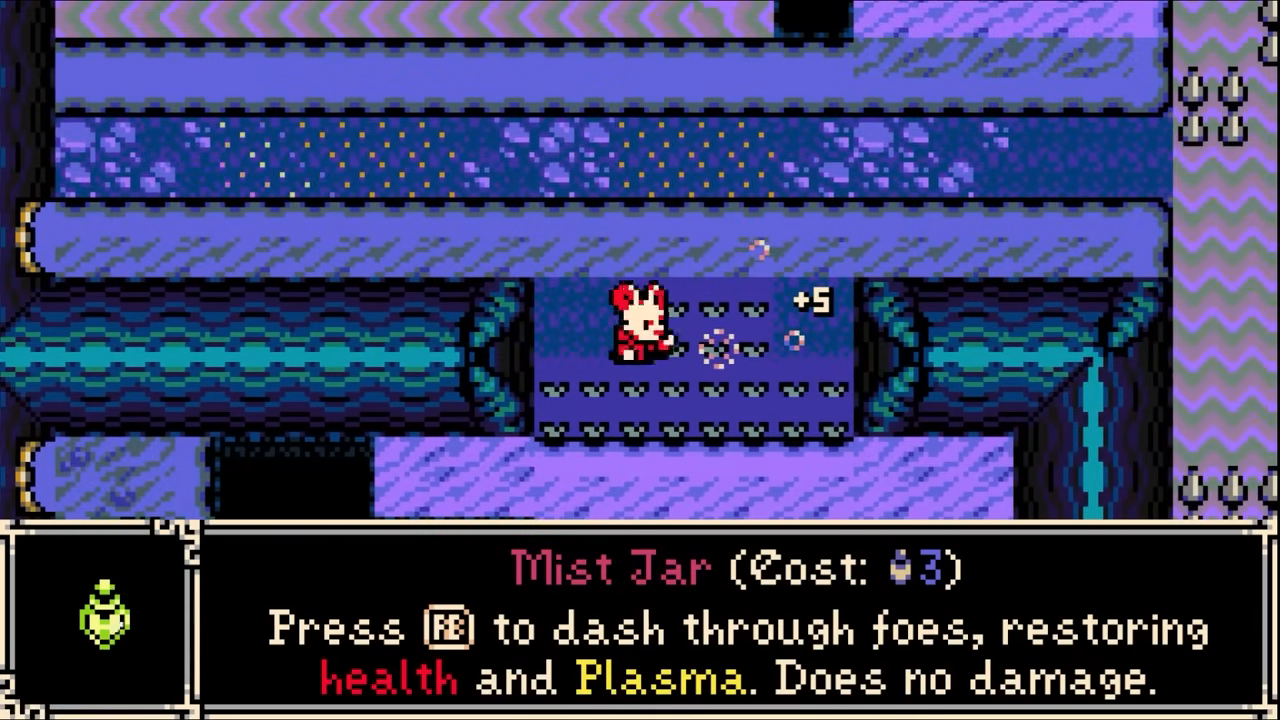
The Mist Jar is one of the most important tools for this playstyle. It does not deal damage, but that barely matters because its value is sustain.
Mist Jar benefits:
- Restores health.
- Gives plasma.
- Supports aggressive routes through dangerous areas.
- Helps stabilize the Uranium Bracelet’s risk.
Think of the Mist Jar as the first half of the survival engine. Once you have it, the game becomes less about avoiding every hit and more about maintaining your resource loop.
4. Get the Tunneling Codex for “Flipper” Movement

The Tunneling Codex has an extremely useful movement effect in water. It effectively acts like a flipper-style upgrade, letting Mina jump repeatedly and move through water sections far more freely than expected.
Use it to:
- Cross water more easily.
- Simplify platforming routes.
- Make certain side quests much easier.
- Reach or navigate areas that feel awkward without it.
This movement tech is one of the biggest reasons the route feels “right.” It turns slow, careful navigation into fast traversal.
That matters most in cleanup-heavy regions. If you are tracking water routes, fishing spots, or mirror locations, compare your notes against the Nox's Bayou map, Bone Beach map, Radiant Manor map, and Astral Orrery map.
5. Combine Mist Jar and Joule Syringe for the Survival Core
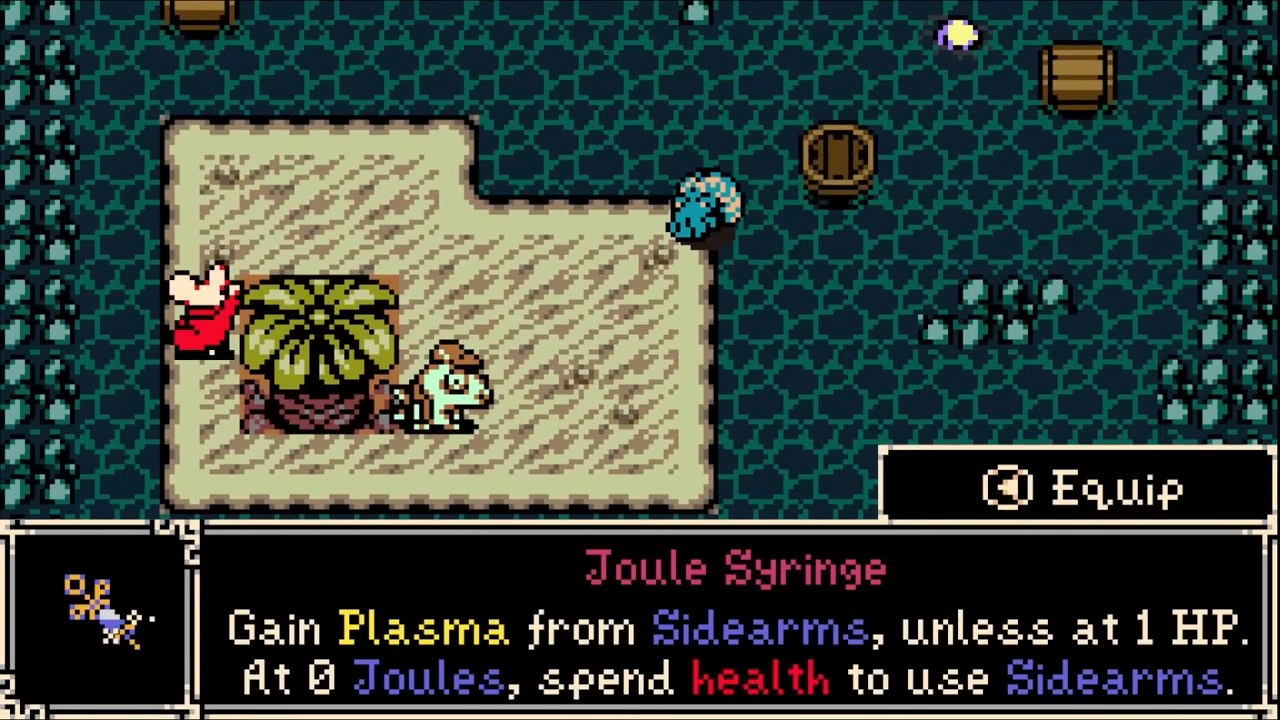
The Joule Syringe completes the build. With the right setup, using movement or dash tools may cost HP, but the healing return can outweigh the loss.
The core idea:
- Spend resources aggressively.
- Let the build convert action back into health/plasma.
- Keep sidearms upgraded, ideally toward level 3, to improve the economy.
- Use the healing loop to stay alive through areas that would normally drain you.
This does not make you truly immortal. The main ways to die are still:
- Falling into pits.
- Getting comboed before you can recover.
- Taking huge hits while low on health.
- Mismanaging rooms with dangerous terrain.
But once the Mist Jar and Joule Syringe are active together, Mina the Hollower becomes much more forgiving during normal combat. Since Joule Syringe is tied to Bone Beach, this build naturally gives you a reason to learn that route instead of treating it as a late-game wall.
6. Use Spin Rush, But Control It With Short Hops
The first hammer upgrade, Spin Rush, is excellent but easy to misuse. After attacking, pressing the follow-up button gives Mina a strong movement attack, but spamming can accidentally trigger unwanted actions or send you into danger.
Best practice:
- Attack first.
- Short hop between follow-ups.
- Use Spin Rush when you have room.
- Avoid using it carelessly near pits.
Spin Rush is especially strong when paired with the water movement effect from the Tunneling Codex. The combination gives Mina a surprising amount of mobility.
7. Trinket Choices Matter More Than Permanent Upgrades
Mina the Hollower leans heavily on trinkets and sidearms rather than constant permanent movement upgrades. That means your build choices define how the game feels.
Strong picks for this style:
- Uranium Bracelet — high-risk, high-damage engine.
- Mist Jar — healing and plasma sustain.
- Joule Syringe — completes the survival loop.
- Tunneling Codex — major movement utility, especially in water.
- Tumbling Tutu — useful enemy-bounce movement, if you can spare the slot.
Less essential picks can still be useful, but this route values anything that improves damage, healing, or movement. For a safer early setup before the full damage engine comes online, use the early trinkets guide. If you specifically want more movement comfort, Spring Heels is also worth checking.
8. How to Play Bosses With This Build
This setup can carry you through bosses, but it does not mean every fight becomes free. Some bosses still force careful positioning, especially when the arena has pits, multiple targets, or heavy projectile pressure.
Boss approach:
- Use hammer hits when the boss is committed to an animation.
- Do not overcharge if the boss is about to reposition.
- Heal during safer pattern windows.
- Use movement tools to reset spacing.
- Accept that some fights are better with lighter attacks or sidearms than constant hammer swings.
The build stays strong deep into the game, but the hammer is not always the perfect answer in every phase. The right way is to stay aggressive without becoming stubborn.
For route-specific practice, use the boss index. This build is especially relevant to pressure-heavy checks like Major Miner in Bone Beach, Nox's Beast in Nox's Bayou, and The Carving Man in Septemburg.
Recommended Game Plan
Follow this general route philosophy:
- Learn hammer charge movement immediately.
- Equip Uranium Bracelet once available.
- Add early defense so the bracelet does not become too punishing.
- Get Mist Jar for sustain.
- Get Tunneling Codex for water movement utility.
- Get Joule Syringe to complete the healing loop.
- Upgrade sidearms to improve the build’s resource economy.
- Pick up Spin Rush and practice short-hop control.
- Use the build aggressively, but respect pits and enemy combos.
After that, use the map pages to clean up whatever your build skipped: Septemburg, Nox's Bayou, Bone Beach, Radiant Manor, and Astral Orrery. If you are also chasing fishing or fish-board progress, the Fishing Rod page is the natural next stop.
Final Takeaway
The right way to play Mina the Hollower is to stop treating damage taken as pure failure. With the hammer, Uranium Bracelet, Mist Jar, Joule Syringe, and strong movement tech, damage becomes part of a resource loop: hit hard, gain plasma, heal back, and keep moving.
It is risky, fast, and much stronger than a cautious low-damage approach.